

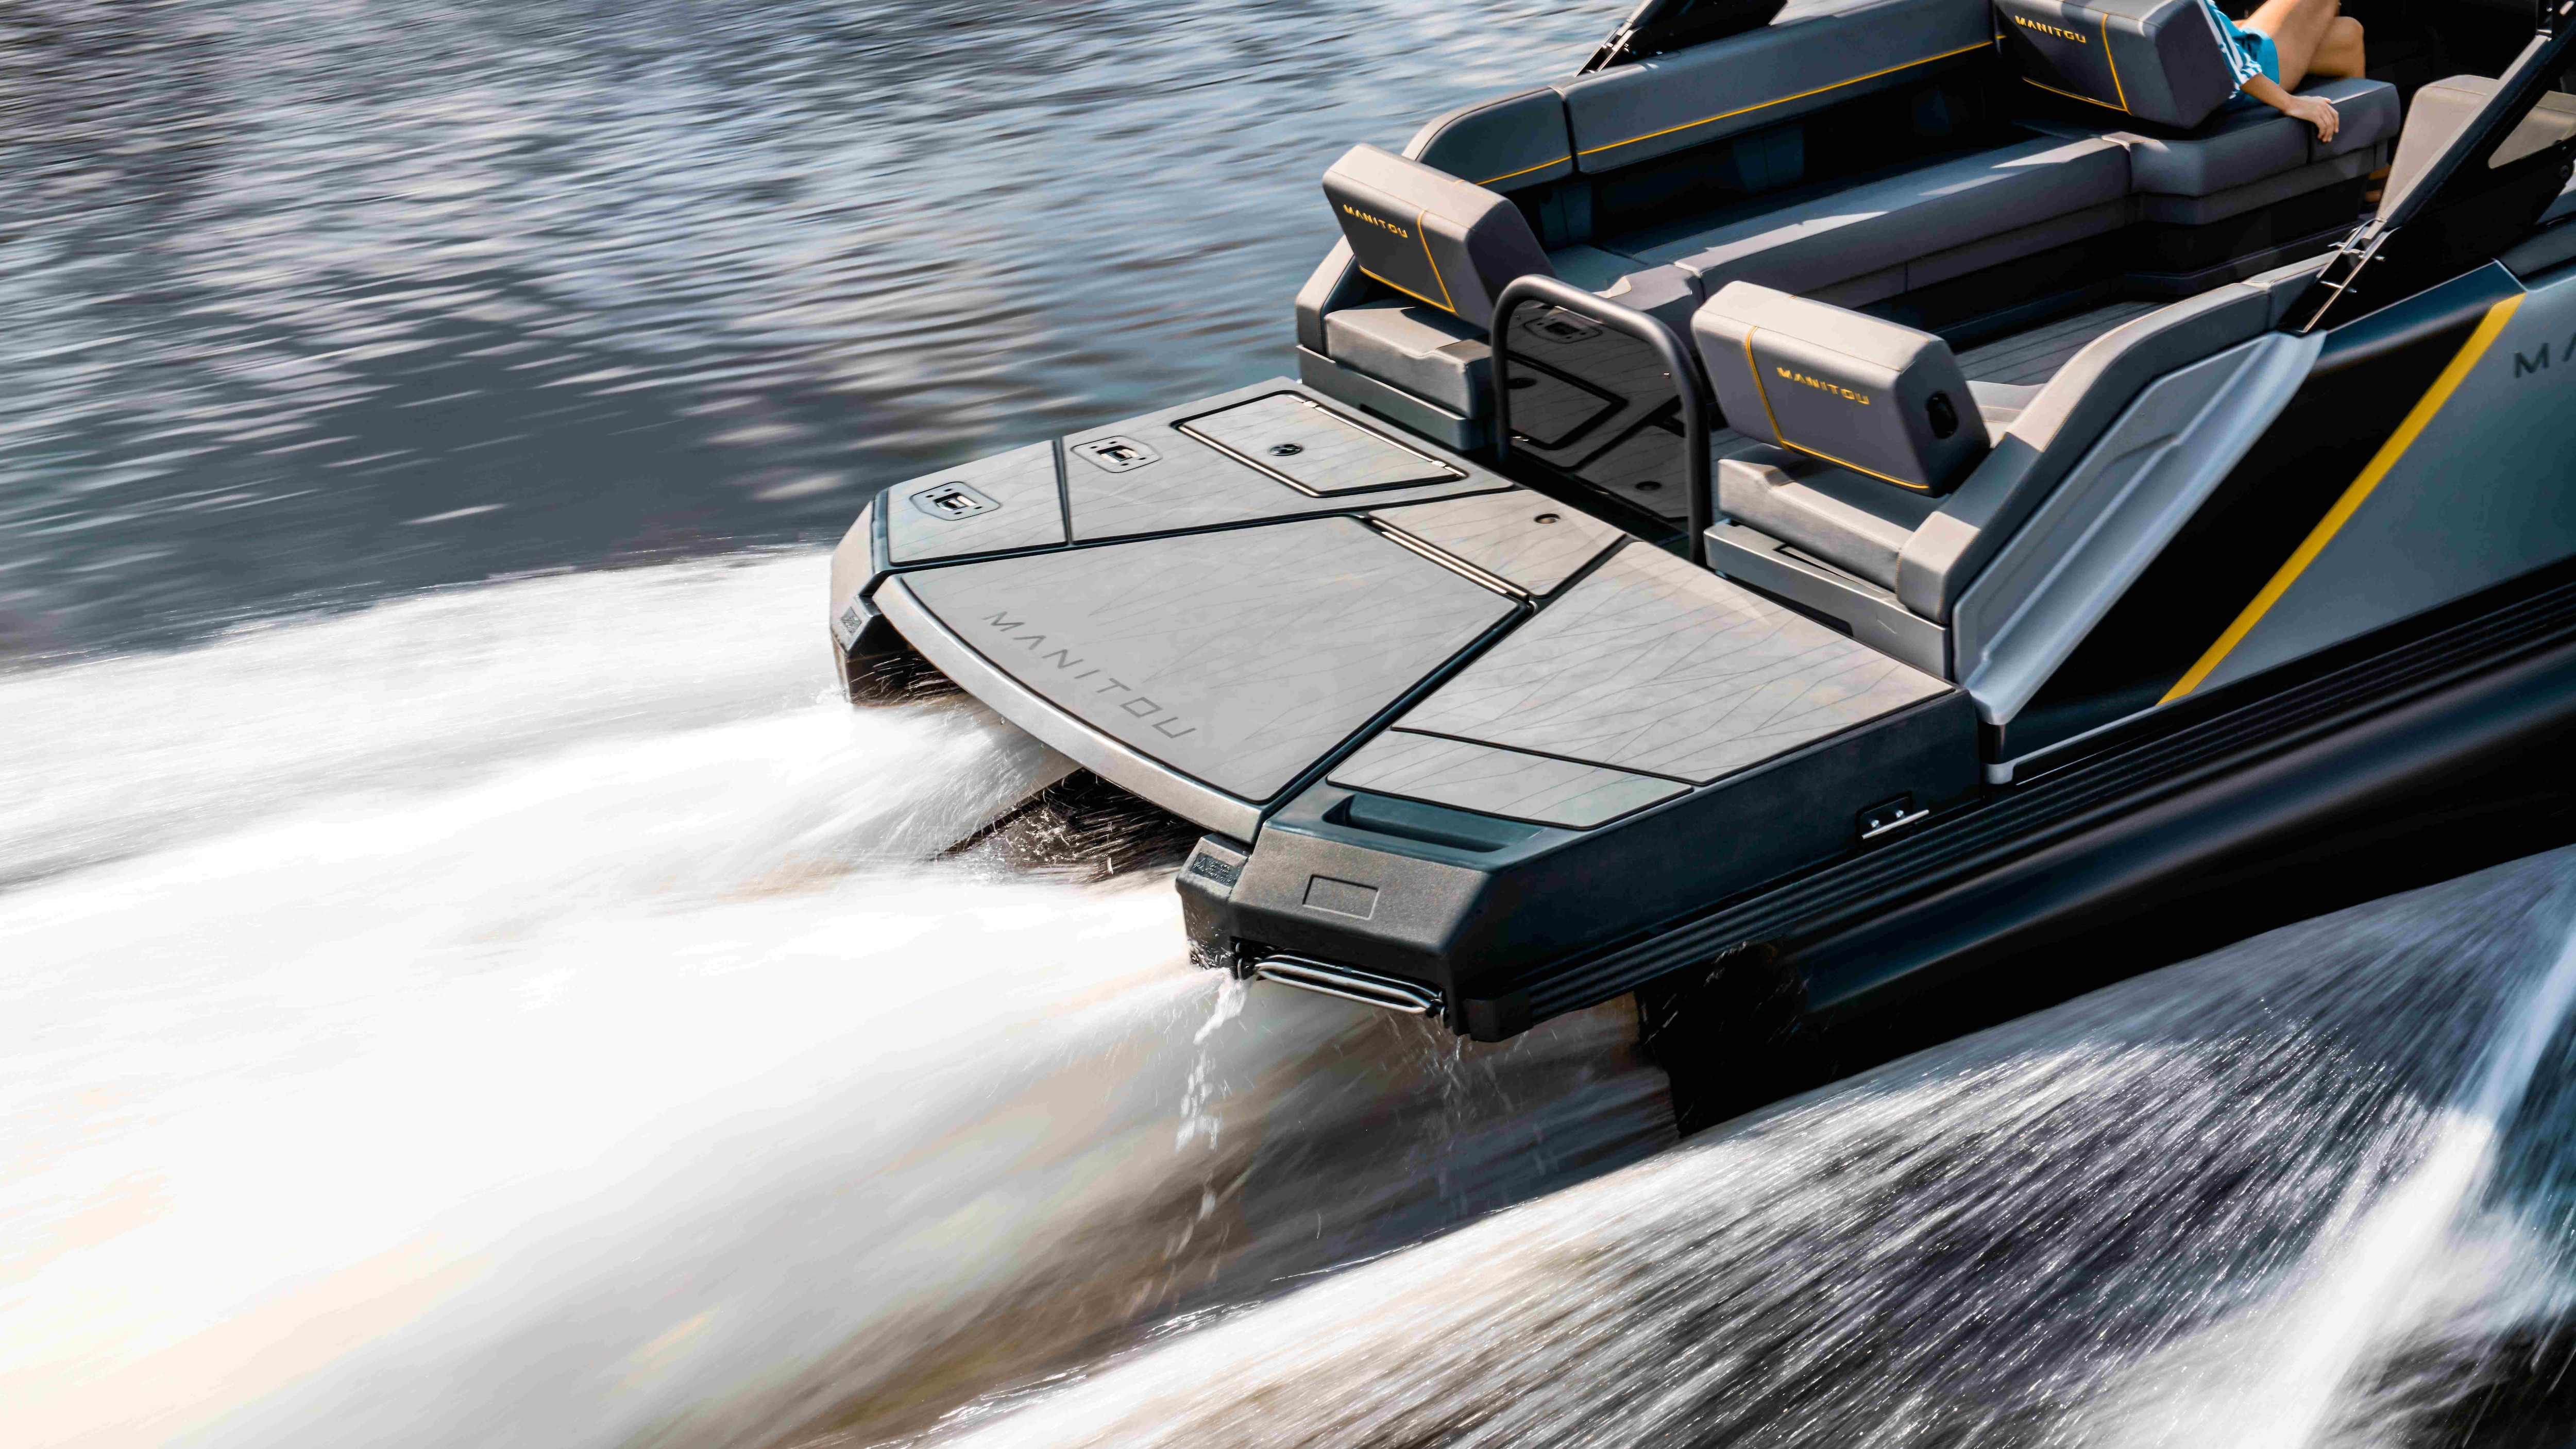
Giving your boat a fresh coat of paint can really change its whole vibe, you know? It’s not just about making it look good, either. A good paint job actually helps keep your boat safe from all sorts of things out on the water. Think about the sun’s strong rays or even little marine creatures that might try to stick to the hull. This kind of project, a bit of DIY boat painting, can feel incredibly rewarding. It boosts how your boat looks and adds a layer of protection, which is pretty neat.
Many boat owners, like yourself, find themselves wondering about the best way to refresh their vessel. Maybe you’ve seen some chips, or perhaps the color just isn’t quite what it used to be. Taking on the task of boat painting yourself, it's almost a way to connect with your boat on a deeper level. You get to control the outcome, and there’s a real sense of accomplishment when you see that smooth, shiny finish.
This guide is here to walk you through the process, helping you understand the different things you’ll need to think about. We’ll talk about getting everything ready, picking out the right paint, and what steps to follow for a finish you can be proud of. It’s a complete DIY guide, so you can learn how to paint your boat like someone who does this for a living, really.
Table of Contents
- Why Give Your Boat a New Coat?
- Getting Ready: The Most Important Step
- Picking the Right Paint for Your Boat
- The Painting Process: Step by Step
- Advantages of Taking on DIY Boat Painting
- Frequently Asked Questions About Boat Painting
Why Give Your Boat a New Coat?
Painting your boat does a lot more than just make it look pretty. It’s a critical part of keeping your vessel in good shape for years to come, you know? A fresh coat of paint acts like a shield, protecting the boat's surfaces from a bunch of harsh elements. For instance, the sun's ultraviolet (UV) rays can really break down materials over time, making them brittle and faded. Paint helps block those damaging rays.
Beyond the sun, paint also guards against marine life. Little critters, algae, and barnacles might try to set up home on your hull, which can slow your boat down and even cause damage. A good paint job, especially certain types of bottom paint, makes it much harder for these things to stick. This means less cleaning for you and a more efficient boat on the water, too.
Then there’s the aesthetic side, which is pretty obvious. A well-painted boat just looks cared for. It can boost its resale value and, frankly, it just feels good to pull up to the dock with a boat that shines. It’s a rewarding project that combines both beauty and protection, as a matter of fact.
Getting Ready: The Most Important Step
Proper preparation is key when it comes to boat painting; honestly, it’s probably the most important part of the whole job. You can have the best paint in the world, but if the surface isn't ready, it won't stick well or last long. This stage involves a few critical tasks that lay the groundwork for a truly durable and polished finish. You need to prepare thoroughly, basically.
First things first, you'll want to take off anything that might get in the way or get paint on it. This means removing all the hardware, like rails, cleats, and vents. If your boat has any teak or other wood trim, that should come off too, or be taped up very carefully. This step helps you get a clean, even paint job without fiddly bits getting in the way, so.
Once everything is off, you’ll need to give the boat a really good wash. Get rid of all the dirt, grime, salt, and any loose bits. A pressure washer can be helpful here, but be careful not to damage the existing surface. After washing, let it dry completely. You want a clean, dry surface before you do anything else, you know.
Making Repairs and Smoothing Surfaces
Before any paint goes on, you’ve got to fix any little boo-boos on the boat’s surface. This means repairing any chips, dings, or gouges that might be present in the hull or deck. These imperfections, even small ones, will show right through a new coat of paint, making the finish look less than perfect. So, it’s worth taking the time here.
For smaller dings, you might use a marine-grade filler or epoxy putty. You apply it, let it cure, and then sand it smooth. For bigger gouges, you might need a bit more material and perhaps a bit more time to build it up. The goal here is to make the surface as smooth and even as possible, almost like new. You’re aiming for a flawless base, really.
Fairing is another important part of this stage. This means making sure the surface is completely level and free of any bumps or dips. You might use a long board sander to help identify and smooth out any uneven areas. This process takes patience, but it’s what separates a good DIY job from a truly professional-looking one, at the end of the day.
Careful Sanding and Cleaning
Once all the repairs are made and the surface is fair, it’s time for sanding. This step is super important for paint adhesion. You’ll need to sand carefully, using the right grit sandpaper for your existing surface and the type of paint you plan to use. Sanding creates a texture that the new paint can grip onto, which is pretty essential.
Start with a coarser grit to smooth out any remaining imperfections or old paint, then move to finer grits to get a really smooth finish. Remember to sand in consistent patterns, avoiding swirls or uneven spots. This part takes time and effort, but it truly pays off with the final look. You want a uniform surface, obviously.
After all the sanding, there will be a lot of dust. And I mean a lot! It’s absolutely vital to remove all of this dust before painting. You can use a shop vacuum, then follow up with a tack cloth or a clean, damp rag to pick up any lingering particles. Any dust left behind will get trapped in the new paint, making the finish rough and bumpy. This cleaning step is non-negotiable, seriously.
Picking the Right Paint for Your Boat
Choosing the right paint for your boat can feel a bit overwhelming because there are so many options out there. But understanding the various types of paints suitable for boats will help you make a good decision. The kind of paint you pick depends on what part of the boat you're painting, what material your boat is made from, and what kind of protection you need, you know.
For the hull above the waterline, you typically use a topcoat paint. These paints are designed to withstand UV rays, resist fading, and look good. Common types include single-part polyurethanes, which are easier for DIYers to apply, and two-part polyurethanes, which offer a much harder, more durable, and glossier finish but are a bit trickier to work with. They are very, very good, though.
For the bottom of the boat, below the waterline, you’ll need a special kind of paint called antifouling paint. This paint contains chemicals that prevent marine growth like barnacles, algae, and slime from attaching to the hull. There are different types of antifouling paint, some that wear away slowly (ablative) and others that release biocides over time. Choosing the right one depends on your local waters and how often you use your boat, naturally.
Deck paints are another category. These often include non-skid additives to help prevent slips and falls. They need to be tough enough to handle foot traffic and exposure to the elements. You might also consider specific primers that are designed to bond well with your boat's material and provide a good base for the topcoat. So, think about where the paint is going, and what it needs to do, okay?
The Painting Process: Step by Step
With all the preparation done and the right paint chosen, you're ready to start the actual painting. This part can be really exciting, as you begin to see your boat transform. Remember, patience and a steady hand are your best friends here. You’ll want to follow the paint manufacturer’s instructions very closely for drying times and recoat windows, by the way.
First, apply your primer if your chosen paint system requires one. Primers create a strong bond between the boat's surface and the topcoat, and they also help to create a uniform base color. Apply it evenly, avoiding drips or runs. Let it dry completely according to the product's instructions. This step is pretty important for a long-lasting finish.
Next comes the topcoat. You can apply boat paint with brushes, rollers, or even spray guns. For DIYers, rolling and tipping is a popular method. This involves one person rolling the paint on, and another person lightly brushing over the wet paint to smooth out any roller marks. This technique can give you a surprisingly smooth, professional-looking finish, sort of.
Apply multiple thin coats rather than one thick one. Thin coats dry more evenly, are less likely to sag or run, and build up a more durable finish. Sand lightly between coats with a very fine grit sandpaper if the manufacturer recommends it, and always clean off any dust before applying the next coat. This layered approach is key to getting that deep, glossy look, you know.
When painting, pay attention to the weather conditions. High humidity or extreme temperatures can affect how the paint dries and cures. Always try to paint in a well-ventilated area, and wear appropriate safety gear, like a respirator, especially when working with two-part paints or antifouling products. Safety first, always, right?
Once the final coat is on and fully cured, you can carefully reattach all the hardware and trim you removed earlier. Take your time with this step to avoid scratching your beautiful new paint job. Stepping back and seeing your newly painted boat, shining brightly, is a truly satisfying moment, I mean.
Advantages of Taking on DIY Boat Painting
Taking on a boat painting project yourself offers some really compelling advantages. One of the biggest, of course, is the cost savings. Professional boat painting can be quite expensive, so doing it yourself can save you a significant amount of money. This means you can put those savings towards other boat upgrades or more time out on the water, you know.
Beyond the financial aspect, there's a huge sense of personal satisfaction that comes with a DIY project like this. You get to see the transformation happen right before your eyes, from a tired-looking boat to one that looks fresh and protected. It’s a rewarding project that enhances both the aesthetics and the protection of your vessel, as a matter of fact.
It also gives you a deeper understanding of your boat’s structure and needs. As you prepare the surface, you’ll become familiar with every curve and contour, every ding and repair. This hands-on experience can be really valuable for future maintenance and repairs. Plus, you gain a new skill, which is pretty cool, too.
This guide helps you learn how to paint your boat like a pro with this complete DIY guide. It provides expert tips on preparation, materials, and techniques for a durable and polished finish. By following these steps—preparing thoroughly, choosing the right products, and applying them carefully—you can achieve results that you’ll be proud of, honestly. Learn more about boat maintenance on our site, and link to this page for more boat care tips.
Frequently Asked Questions About Boat Painting
How long does boat paint last?
The lifespan of boat paint really depends on a few things. The type of paint you use, how well you prepared the surface, and how much exposure the boat gets to sun and water all play a part. Generally, a good quality marine paint applied correctly can last anywhere from 5 to 10 years, sometimes even longer for two-part polyurethanes. Antifouling paint usually needs to be redone every 1 to 2 years, though.
Can you paint a boat yourself?
Absolutely, you can paint a boat yourself! Many boat owners successfully take on this project. It does require patience, attention to detail, and a willingness to learn the right techniques. With proper preparation and the right materials, a DIY boat painting project can yield excellent results and be very rewarding. It's a very achievable goal for many, you know.
What kind of paint do you use on a boat?
The kind of paint you use on a boat varies depending on the part of the boat and its specific needs. For areas above the waterline, you typically use marine topcoat paints like single-part or two-part polyurethanes. For the bottom of the boat, below the waterline, you need antifouling paint to prevent marine growth. Deck paints often include non-skid properties. There are also specific primers designed for different boat materials, too.
Detail Author:
- Name : Alize Prosacco
- Username : lgoodwin
- Email : tfeeney@yahoo.com
- Birthdate : 1984-11-14
- Address : 976 Lawson View Bergnaumland, KS 49281
- Phone : +1-339-357-9135
- Company : Hodkiewicz Group
- Job : Radiation Therapist
- Bio : Recusandae sit quod magni qui dolores. Iste reprehenderit quo amet aut nostrum consequatur asperiores. Occaecati corporis fugit odio debitis facere. Sed quasi et pariatur nisi sit.
Socials
tiktok:
- url : https://tiktok.com/@christina4736
- username : christina4736
- bio : Non sed iure et qui ex quod est.
- followers : 2354
- following : 1775
linkedin:
- url : https://linkedin.com/in/christina234
- username : christina234
- bio : Alias laudantium quos maxime vel.
- followers : 2049
- following : 2054
facebook:
- url : https://facebook.com/mccullough1973
- username : mccullough1973
- bio : Aliquam enim et ut architecto aut quos. Explicabo dolores voluptas quos.
- followers : 2194
- following : 1826


 Bonus
Bonus