

Have you ever felt the incredible pull of the sea, that sense of calm and wonder it brings? Perhaps you've stood on a wide, sandy beach, watching the waves roll in, and wished you could somehow hold onto that moment. Well, that feeling, that yearning for the vast, beautiful blue, is that which often inspires us to pick up a pencil or a brush. Creating an ocean drawing is a wonderful way to bring that peace and grandeur right into your own space, allowing you to revisit those coastal feelings whenever you wish. It is, quite simply, a way to connect with the very essence of the sea.
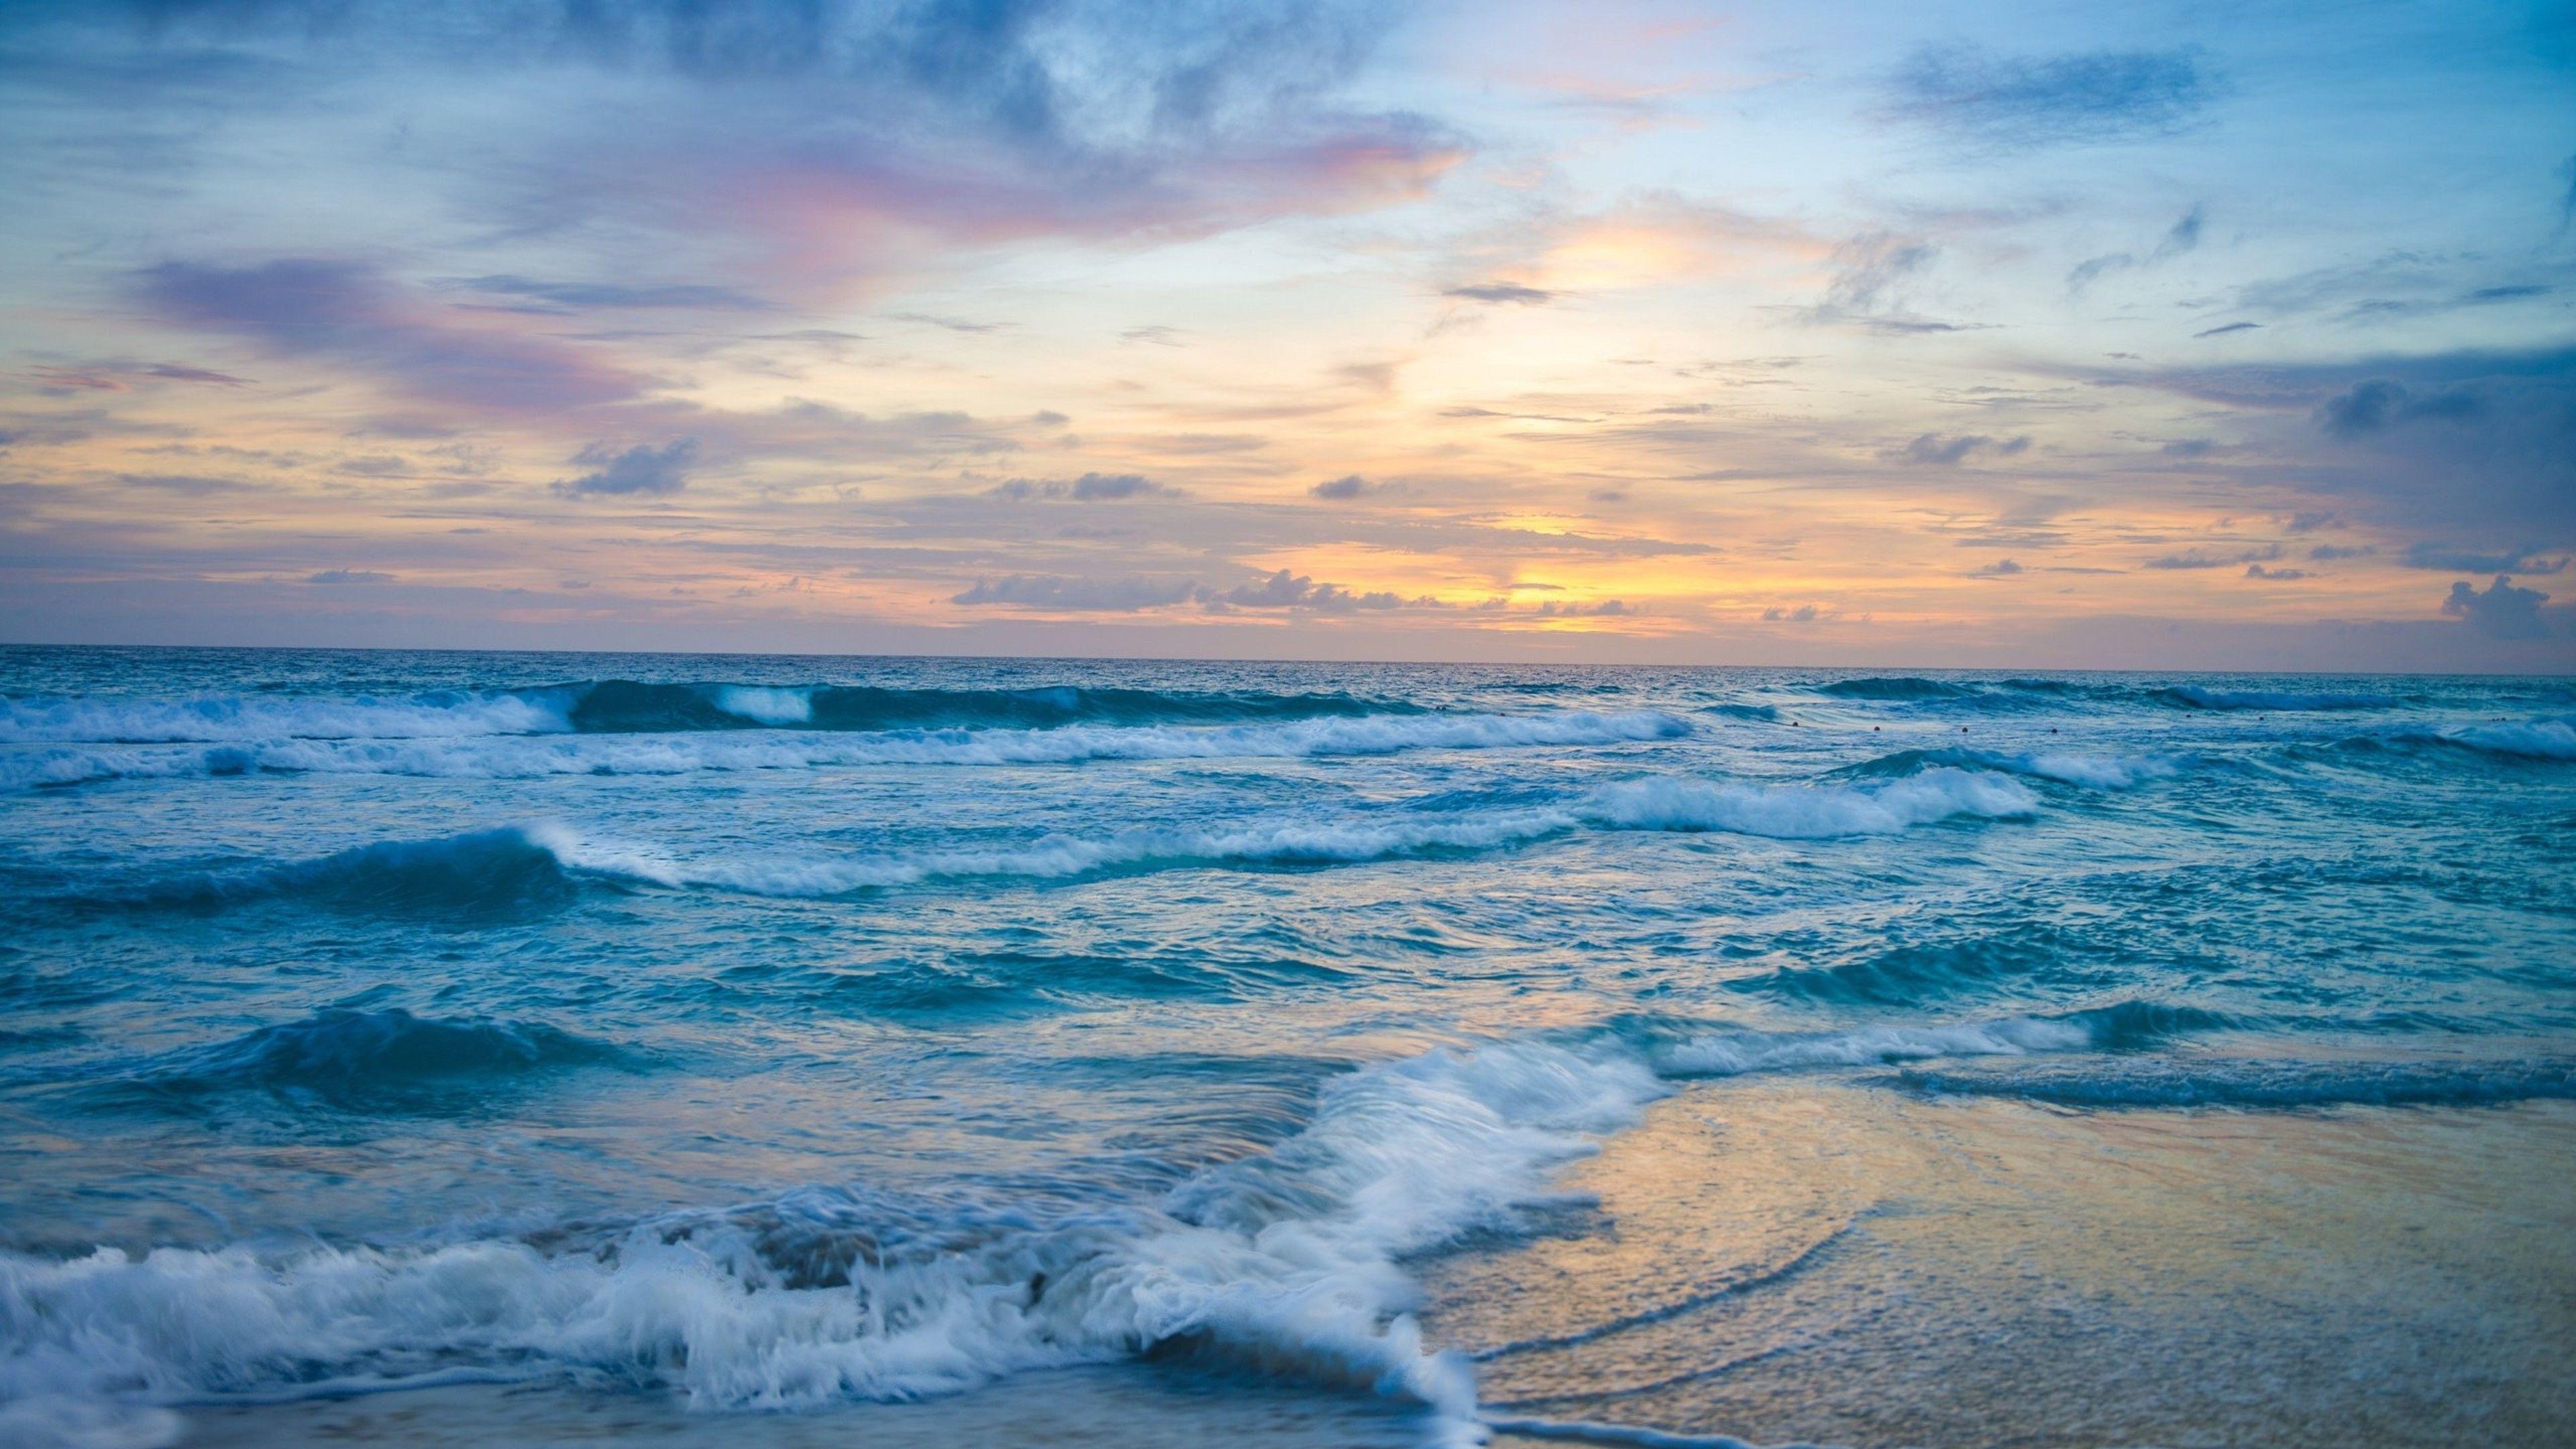
There is something truly special about putting the essence of the ocean onto paper. It is not just about copying what you see; it is also about capturing the movement, the light, and the immense feeling of the water. For instance, think about the stunning, clean, white sandy beaches along Ocean County, a place with miles of coastline that truly inspires. Drawing the ocean gives you a chance to appreciate its details, from the frothy white caps of a breaking wave to the gentle ripple of calm water near the shore. It is a very personal and rewarding creative pursuit, too.
Whether you are a complete beginner just starting out or someone who has drawn for a while, there is always something new to learn when it comes to illustrating the sea. This guide will help you get started, offering practical advice and ideas to help you create your own stunning ocean drawings. You will, arguably, find it quite enjoyable to learn these techniques.
Table of Contents
- Why Ocean Drawing Just Feels Right
- Getting Started with Ocean Drawing
- Drawing the Heart of the Ocean: Waves and Water
- Adding Depth: Beaches, Skies, and Beyond
- Color Choices for Your Ocean Art
- Tips for Better Ocean Drawings
- Frequently Asked Questions About Ocean Drawing
- Keep Exploring Your Artistic Side
Why Ocean Drawing Just Feels Right
Drawing the ocean is a really popular choice for artists of all skill levels, and it is pretty easy to see why. The ocean, with its vastness and ever-changing moods, offers an endless supply of visual material. You can sketch calm, glassy water, or maybe rough, stormy waves crashing against rocks. This wide variety means you will never run out of fresh ideas for your artwork. It is, in a way, truly inspiring.
For many, the act of creating ocean art is a calming activity. The rhythmic motion of drawing waves or the gentle blending of blue and green hues can be very meditative. It helps you focus your thoughts and can ease a busy mind. This makes it a great way to relax and express yourself, especially after a long day. You know, it is kind of therapeutic.
Moreover, ocean drawings often evoke strong feelings in people. They can bring back memories of seaside vacations, the smell of salt in the air, or the sound of gulls calling overhead. When you draw the ocean, you are not just making a picture; you are also creating a feeling, a little piece of that seaside experience. So, it is about more than just lines and colors.
Getting Started with Ocean Drawing
Starting any new artistic project can feel a bit like looking at a blank page, but with ocean drawing, you have a clear goal: to capture the beauty of the sea. The first steps involve getting your materials ready and finding some good inspiration. You will find that these initial preparations make the actual drawing process much smoother. It is, in a way, like preparing for a trip to the coast.
Gathering Your Art Tools
You do not need a lot of fancy equipment to begin. A simple pencil and some paper are perfectly fine for starting out. For more detailed work or to add color, you might want to get some colored pencils, pastels, or watercolors. A good eraser is also very helpful, as you will likely make adjustments as you go. For instance, a kneaded eraser can lift color gently.
Consider the type of paper you use. Thicker paper, often called drawing paper or watercolor paper, works better if you plan to use wet media like paints. For pencils, nearly any paper will do, but a slightly textured surface can help hold the graphite better. You know, it really makes a difference.
Having a few different sizes of brushes or pencils can also be useful. A fine-tipped pencil helps with small details, like individual splashes of water, while a broader one can cover larger areas quickly. Similarly, a wide brush can lay down washes of color, and a smaller one can add highlights. So, a little variety helps a lot.
Finding Your Ocean Inspiration
The best way to get ideas for your ocean drawing is to look at the ocean itself. If you live near a coast, take a trip to the beach. Observe the waves, the colors of the water, the sand, and the sky. Notice how the light hits the surface of the water and creates sparkle. Places like Ocean County, with its "45 miles of the best, cleanest, white sandy beaches and ocean on the east coast," offer fantastic opportunities for this kind of direct observation. It is, frankly, a perfect place to gather ideas.
If you cannot get to the beach, photographs and videos are excellent sources of inspiration. Look for images that show different ocean moods – calm, stormy, sunrise, sunset. Pay attention to how artists and photographers capture the ocean's movement and depth. You might find a picture of a single wave that really speaks to you, or perhaps a wide view of the shoreline. This can give you a starting point, you know, for your own creative work.
Do not be afraid to look at other artists' ocean drawings or paintings. See how they handle light, shadow, and texture. This is not about copying their work, but about learning from their techniques and finding what you like. You can then use those ideas to develop your own unique approach. It is, in a way, a continuous learning process, like exploring different programs and certificates at a college.
Drawing the Heart of the Ocean: Waves and Water
The most iconic part of an ocean drawing is often the waves. Capturing their motion and the way they interact with light can seem tricky, but with a few simple steps, you can make them look quite convincing. The key is to think about the wave's shape and how water behaves. It is, basically, about understanding the flow.
Simple Steps for Drawing Waves
Start by sketching the basic shape of the wave. Waves are not just straight lines; they have a curve to them, often rising and then breaking. Draw a gentle, rolling curve for the main body of the wave. Then, add a smaller, more jagged line at the top where the wave is about to break or is already breaking into foam. This initial outline is very important, you see.
Next, think about the foam. When a wave breaks, it creates white, frothy water. Use irregular, broken lines or small, circular shapes to suggest this foam. Remember that foam is not uniform; it will be thicker in some places and thinner in others. You can use your eraser to create highlights within the foam, making it look lighter and brighter. This really helps it stand out, as a matter of fact.
Consider the water behind and in front of the wave. The water receding from the shore might have a different texture than the water approaching. Use varied strokes to show this. Short, choppy lines can suggest disturbed water, while longer, smoother lines can indicate calmer areas. So, try to vary your marks.
Making Water Look Real
To make water look truly real, you need to pay attention to light and shadow. Water is reflective, so it will show highlights where light hits it directly. These highlights are often bright and irregular, like scattered diamonds on the surface. Use a very light touch or an eraser to create these bright spots. This is, quite honestly, a vital step.
Also, water has depth. The color of the water will change depending on how deep it is and how much light passes through it. Near the shore, it might be lighter and more transparent, revealing the sand below. Further out, it will appear darker and more opaque. Use varying shades of blue and green to show this depth. For instance, a slightly darker blue might suggest deeper water.
Movement is another key aspect. Water is rarely completely still. Use subtle lines or streaks to suggest currents or ripples. These lines should follow the general direction of the water's flow. Even in calm water, there will be tiny reflections and distortions. These small details, you know, add a lot of authenticity to your ocean drawing.
Adding Depth: Beaches, Skies, and Beyond
An ocean drawing is often more than just water. Including elements like sandy beaches, vast skies, and other coastal details can add context, depth, and interest to your scene. These elements help tell a fuller story about the place you are drawing. It is, essentially, about building a complete picture.
Creating Sandy Shores
When drawing sand, think about its texture. Sand is made up of countless tiny grains, so it is not perfectly smooth. Use a slightly rough or stippled texture to suggest this. You can use short, light strokes or small dots to build up the sandy surface. Remember that sand near the water will often be darker because it is wet, while dry sand further up the beach will be lighter. This contrast is quite important, really.
The line where the water meets the sand is called the shoreline, and it is rarely a straight line. Waves wash up and recede, leaving patterns and wet patches. Draw this line with some irregularity, perhaps showing where a wave has just pulled back, leaving a damp area. You might also add small shells or pebbles scattered on the sand to give it more character. So, little details matter.
Consider the color of the sand. While often depicted as light brown or yellow, sand can have many different hues depending on the minerals present. Pay attention to the light and shadow on the sand, too. Areas in direct sunlight will be brighter, while areas in shadow or under a cloud will be darker. This helps give the beach a sense of form, you know.
Painting the Sky Above
The sky plays a huge role in setting the mood of your ocean drawing. A bright, clear blue sky suggests a sunny day, while a cloudy sky can imply a coming storm or a more dramatic scene. Use broad, sweeping strokes to create the overall color of the sky. Blend your colors smoothly to avoid harsh lines, unless you are drawing very defined clouds. This really sets the stage, in some respects.
Clouds are a fantastic way to add interest to the sky. They come in many shapes and sizes, from fluffy cumulus clouds to long, wispy cirrus clouds. When drawing clouds, think about their volume and how light hits them. The parts of the cloud facing the sun will be brighter, while the underside will be darker. Use soft edges for clouds to make them look soft and natural. You know, they are almost like cotton balls.
The horizon line, where the sky meets the ocean, is also very important. Keep this line relatively straight, but remember that atmospheric perspective means distant objects appear lighter and less defined. The ocean at the horizon will often appear a lighter shade of blue or gray than the water closer to you. This helps create a sense of distance, you see.
Including Coastal Details
To make your ocean drawing feel more complete, you can add various coastal elements. These might include distant lighthouses, boats sailing on the water, or even a few seabirds flying overhead. These details can add narrative and interest without taking away from the main focus on the ocean. For instance, a small boat can suggest the vastness of the sea.
If you are drawing a rocky coastline, pay attention to the textures of the rocks. Rocks are often rough and irregular, with cracks and crevices. Use varied lines and shading to show these textures. Moss or seaweed might grow on rocks near the water, adding more color and detail. This can make your drawing feel more grounded, you know, in reality.
Even small elements like footprints in the sand, a piece of driftwood, or a distant pier can add a lot to your drawing. These small touches help to create a sense of place and invite the viewer to imagine themselves there. Think about what makes a beach scene feel real to you, and try to incorporate those aspects. It is, quite simply, about adding life to your picture.
Color Choices for Your Ocean Art
Color is a powerful tool in ocean drawing. The right colors can make your water shimmer, your sky glow, and your sand feel warm. While blues and greens are naturally associated with the ocean, there is a surprising range of shades to explore. Choosing your palette carefully can really bring your scene to life. It is, arguably, one of the most exciting parts.
Blues and Greens: The Ocean's Palette
The ocean is rarely just one shade of blue. It can range from deep, dark navy in stormy weather to bright, almost turquoise near the shore on a sunny day. Use a variety of blues – ultramarine, cerulean, phthalo blue – to create depth and movement. Blend them smoothly to show the transition from one shade to another. You know, it is about creating a sense of flow.
Greens are also very important, especially in shallower waters or where sunlight penetrates the surface. Mix blues with a touch of yellow to create various greens, from a vibrant seafoam green to a deeper, murky green. These greens often appear closer to the shore or in areas with more plant life. So, do not forget the green hues.
Do not be afraid to use unexpected colors, either. Sometimes, a touch of purple or gray can add richness to deep water, especially in shadows or at dusk. Observe real ocean photos to see the subtle color shifts that occur under different lighting conditions. This can make your ocean drawing much more interesting, as a matter of fact.
Adding Warmth and Light
While blues and greens dominate, warm colors are crucial for showing light and atmosphere. Yellows, oranges, and even pinks can be used for sunsets and sunrises, reflecting on the water's surface. A touch of yellow in the sky can suggest a bright, sunny day, while oranges and reds can create a dramatic evening scene. These colors, you know, really make a difference.
White is essential for highlights, especially on foam and reflections. Use white sparingly but effectively to make your water sparkle and your waves appear dynamic. A very light touch of white can suggest the spray coming off a breaking wave. It is, quite simply, the light that brings it all together.
Consider the overall light source in your drawing. Is the sun high in the sky, casting bright, direct light? Or is it low on the horizon, creating long shadows and warm glows? The light source will influence all the colors in your scene, from the water to the sand and sky. This is, basically, how you create a believable scene.
Tips for Better Ocean Drawings
Improving your ocean drawing skills takes time and patience, but there are a few simple tips that can help you along the way. Remember that every artist starts somewhere, and the goal is to enjoy the process as much as the finished piece. You will, arguably, find these suggestions quite helpful.
Practice Makes a Difference
The more you draw, the better you will become. Try to sketch regularly, even if it is just for a few minutes each day. Focus on specific elements, like drawing just waves, or just sand textures, before combining them into a full scene. This repeated action helps build muscle memory and sharpens your observation skills. It is, you know, a bit like learning any new skill, like those offered at Ocean County College.
Do not be afraid to make mistakes. Every "mistake" is an opportunity to learn something new. If a drawing does not turn out the way you hoped, try to understand why. Did the colors not blend well? Was the perspective off? Use these insights to improve your next drawing. This is, in fact, how growth happens in art.
Keep a sketchbook handy. This allows you to quickly capture ideas or practice small details whenever inspiration strikes. You might see a beautiful cloud formation or a unique wave pattern and want to jot it down. A sketchbook is your personal visual diary, and it is pretty useful, really.
Don't Be Afraid to Experiment
Try different art materials. If you usually draw with pencils, try colored pencils, pastels, or even watercolors. Each medium offers a different feel and can create unique effects. You might discover a new favorite way to express the ocean's beauty. For instance, watercolor can create beautiful, flowing water effects.
Experiment with different styles, too. You do not have to draw realistically. You could try a more abstract approach, focusing on colors and shapes, or a more stylized, cartoon-like look. The goal is to find what feels good to you and what best expresses your vision of the ocean. This is, quite simply, about finding your artistic voice.
Play with composition. Try drawing the ocean from different viewpoints – a close-up of a single wave, a wide panoramic view of the beach, or looking down from a cliff. Varying your perspective can make your drawings more dynamic and interesting. So, change it up a little.
Learn from Others
Look for online tutorials, art books, or even local art classes. Seeing how other artists approach ocean drawing can give you new ideas and techniques. There are many resources available, from quick videos to in-depth courses. You might find a technique that really clicks with you. For example, some online platforms offer step-by-step guides.
Join an art community, either online or in person. Sharing your work and getting feedback from others can be incredibly helpful. You can also see what others are creating and get inspired. Remember, learning is a continuous process, much like how Ocean Connect is a portal to various services and learning opportunities. You can learn more about artistic exploration on our site, and perhaps link to this page for more drawing tips.
Visit art galleries or museums that feature seascape paintings. Observe how master artists captured the ocean in their time. Pay attention to their brushstrokes, their use of color, and how they conveyed emotion. This kind of observation can greatly enrich your own artistic practice. It is, in a way, a timeless source of wisdom.
Frequently Asked Questions About Ocean Drawing
Many people have similar questions when they start drawing the ocean. Here are some common ones, with some thoughts to help you out.
How do you draw a simple ocean?
To draw a simple ocean, start with a wavy horizon line. Then, add a few rolling curves for the waves closer to you. Use light, horizontal lines to suggest the water's surface, and perhaps a few small, irregular shapes for foam at the wave crests. Keep it light and fluid, you know, for a basic look.
What colors are used to draw the ocean?
The main colors are blues and greens, but the specific shades vary greatly. Think about deep blues for the open sea, lighter blues and greens for shallower areas, and touches of white for foam and highlights. You might also use grays for shadows or even warm colors like yellows and oranges for reflections during sunrise or sunset. So, it is not just blue.</
![🔥 [40+] 4K Ocean Wallpapers | WallpaperSafari](https://cdn.wallpapersafari.com/82/38/ozIeXi.jpg)
Detail Author:
- Name : Melvina Altenwerth
- Username : hayley85
- Email : lhegmann@hotmail.com
- Birthdate : 1995-12-08
- Address : 79096 Queenie Stream Apt. 713 Kuhnmouth, WY 23093-0246
- Phone : 364-990-8831
- Company : Boyer-Hayes
- Job : Electric Motor Repairer
- Bio : Debitis nisi nihil rerum laboriosam ducimus nihil. Repudiandae voluptatem voluptas tenetur et.
Socials
instagram:
- url : https://instagram.com/savannahvolkman
- username : savannahvolkman
- bio : Hic eos ea et. Eum in dolorem recusandae perferendis. Quasi est sit praesentium consequatur.
- followers : 4316
- following : 908
facebook:
- url : https://facebook.com/svolkman
- username : svolkman
- bio : Omnis consequatur corrupti sit voluptatibus voluptatem quidem.
- followers : 5091
- following : 1331
tiktok:
- url : https://tiktok.com/@savannah.volkman
- username : savannah.volkman
- bio : Velit nostrum quia a aut sed et voluptas.
- followers : 4422
- following : 2499
twitter:
- url : https://twitter.com/volkman1983
- username : volkman1983
- bio : Sunt porro commodi dolore non expedita modi delectus natus. Maiores in velit enim qui rerum fuga. Fugit ipsum maiores velit molestias unde.
- followers : 6971
- following : 569
linkedin:
- url : https://linkedin.com/in/volkman2002
- username : volkman2002
- bio : Rerum ad laborum minima explicabo id ut.
- followers : 949
- following : 1654


 Bonus
Bonus