

Have you ever found yourself daydreaming about a perfectly swirled scoop, maybe with a cherry on top, and wished you could capture that delicious vision? It's a common feeling, you know, when something looks so good you just want to sketch it out. Drawing something as delightful as ice cream is, in a way, a little bit like enjoying a real treat, but without any of the mess or the calories. It offers a wonderful chance to play with shapes, colors, and textures, bringing a smile to your face as you create something truly appealing on paper or screen.
This kind of creative activity, actually, can be incredibly soothing. Just like how a fun session at Iceforum offers a cool escape and a bit of exercise, picking up a pencil to do some ice cream drawing can give your mind a nice break and a different kind of workout. It's a simple pleasure, really, that can brighten your day and let your imagination run free. So, whether you're a seasoned artist or just starting out, there's a lot of joy to find in sketching these frosty delights.
Right now, as a matter of fact, many people are looking for simple, enjoyable ways to express themselves, and drawing food items, especially something universally loved like ice cream, is very popular. It's a topic that consistently brings out smiles and encourages creativity, making "ice cream drawing" a search that pops up quite a bit. This guide will walk you through everything you need to know to start making your own sweet art, from basic shapes to adding those tempting details.
Table of Contents
- Getting Started with Your Sweet Sketch
- Bringing Your Scoops to Life
- The Fun of Toppings and Garnishes
- Different Styles and Mediums for Your Ice Cream Art
- Tips for Making Your Ice Cream Drawing Truly Shine
- Frequently Asked Questions About Ice Cream Drawing
Getting Started with Your Sweet Sketch
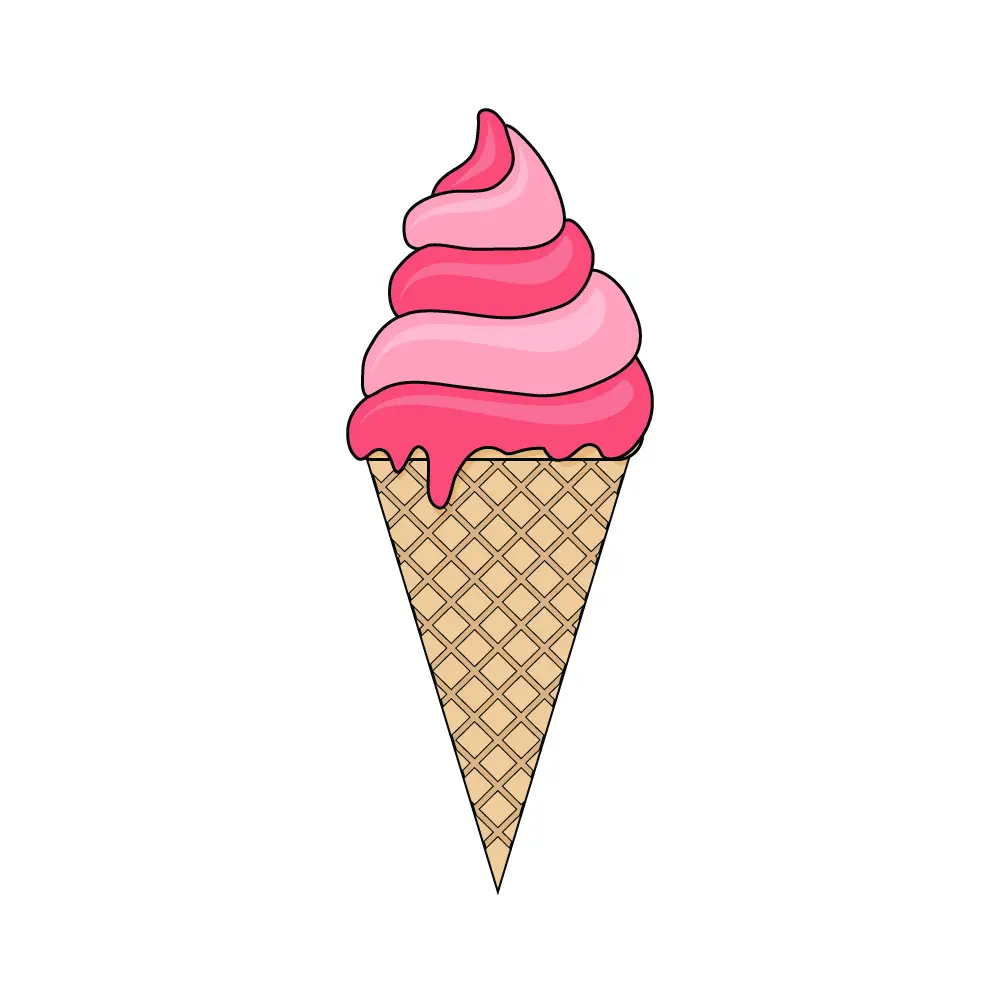
Starting an ice cream drawing is, well, pretty simple when you break it down. You don't need a whole lot of fancy supplies to get going, just a pencil and some paper will do. The very first step, you know, is to think about the basic shapes that make up an ice cream cone. It's mostly just a triangle for the cone and some rounded shapes for the scoops. This initial outline helps you get the proportions right before adding all the delicious details.
Basic Shapes for Your Cone and Scoops
To begin, you might want to lightly sketch a triangle for the cone. Make it wide enough at the top to hold your scoops, but not too wide, obviously. Then, just above the cone, draw a series of overlapping circles or rounded ovals. These will be your ice cream scoops. You can stack them as high as you like, really, depending on how many scoops you're imagining. Keep these lines very light at first, as you'll be erasing some of them later. This foundational step is quite important for a good structure.
Adding the Cone Texture and Details
Once your basic cone shape is there, you can start to give it that waffle cone look. This means drawing diagonal lines going one way across the cone, and then drawing another set of diagonal lines crossing the first set, making a grid pattern. You know, it's pretty much like drawing a criss-cross. Pay a little attention to how the lines curve with the shape of the cone to make it look realistic. Adding a few small dots or imperfections can also make your cone seem more authentic, like it's just been handed to you from a snack bar, perhaps. Remember, the goal is to make it look tasty, and that texture helps a lot.
Bringing Your Scoops to Life
The scoops are, arguably, the most exciting part of an ice cream drawing. This is where you get to decide on the flavors and really make them look cold and creamy. The key is to think about how light hits a rounded surface and how a scoop of ice cream isn't perfectly smooth, but has those lovely soft edges and swirls.
Shading and Highlights for Dimension
To make your scoops look round and three-dimensional, you'll want to add some shading. Imagine where your light source is coming from, and then put darker tones on the opposite side of the scoop. For example, if the light is coming from the top left, the bottom right of each scoop would be a bit darker. Then, add very light areas, or highlights, where the light hits directly. This contrast, you know, makes the ice cream really pop off the page. A little bit of soft blending can make it look even smoother and more appealing, too it's almost like you can feel the coldness.
Choosing Your Colors for Flavor
This is where the fun really begins! What flavor are you drawing? Vanilla might be a creamy off-white, chocolate a rich brown, and strawberry a lovely pink. Think about the slight variations in color within a single scoop; ice cream isn't just one flat color. Maybe there are darker streaks of chocolate or lighter spots on a vanilla scoop. Using a few different shades of your chosen color can add so much depth. For instance, a chocolate scoop might have some very light brown areas and some very dark brown areas. This attention to subtle color differences, honestly, makes your drawing much more believable and appetizing.
The Fun of Toppings and Garnishes
No ice cream drawing is complete without some delightful toppings, right? This is where you can truly let your personality show and make your ice cream unique. From colorful sprinkles to rich sauces and classic cherries, these additions can really elevate your art.
Sprinkles and Sauces: Making Them Pop
Sprinkles are, well, pretty straightforward to draw. Just small, elongated dots or tiny lines scattered across the top of your scoops. Use a variety of bright colors to make them look cheerful and lively. For sauces, like chocolate or caramel, think about how they would drizzle down the sides of the scoops. They would have a bit of thickness, so draw them with soft, flowing lines. You might want to add a little shine to the sauce to make it look wet and gooey. A bit of light reflection on the sauce, for example, makes it look incredibly tempting. This is where you can add a lot of visual interest and make your drawing feel more dynamic.
The Classic Cherry and Other Extras
A cherry on top is, arguably, the most iconic ice cream garnish. Draw a small circle for the cherry, and then a thin stem sticking out. Don't forget a tiny highlight on the cherry to make it look shiny and juicy. You could also add other fun extras like whipped cream, a wafer stick, or even some nuts. Whipped cream can be drawn with soft, cloud-like swirls. These little details, you know, can really tie the whole drawing together and make it look incredibly inviting. Think about what makes your favorite ice cream sundae so special and try to include those elements in your sketch.
Different Styles and Mediums for Your Ice Cream Art
The beauty of ice cream drawing is that it's super versatile. You don't have to stick to just one way of doing it. You can explore different artistic styles and use various tools to bring your sweet visions to life. This flexibility means there's a style and a medium for everyone, regardless of your skill level or what you have available, honestly.
Cartoon vs. Realistic Approaches
Do you prefer a playful, cartoon look, or something that seems almost real enough to eat? For a cartoon style, you might use bolder outlines, simpler shapes, and very bright, flat colors. Think about giving your ice cream a fun personality, perhaps with exaggerated swirls or even little faces. A realistic approach, on the other hand, involves more detailed shading, subtle color blends, and a careful study of how light and shadow interact with the ice cream's surface. It's about capturing the textures and nuances that make it look truly lifelike. Both styles are perfectly valid, and you can, you know, try both to see what you enjoy more.
Pencil, Colored Pencils, or Digital Tools?
Your choice of drawing tools can really change the look and feel of your ice cream art. A simple pencil is fantastic for practicing shapes and shading, and it gives your drawing a classic, sketch-like quality. Colored pencils allow you to add vibrant hues and build up layers of color for depth. They're great for blending and creating smooth transitions. If you're into digital art, software like Procreate or Photoshop offers an endless palette of colors and brushes. You can experiment with different textures and effects, and it's very easy to undo mistakes. You know, each medium has its own charm, and trying them all can be a fun way to discover what works best for your creative process.
Tips for Making Your Ice Cream Drawing Truly Shine
Making your ice cream drawing truly special is, well, pretty much about a combination of practice and a little bit of creative thinking. It's not just about drawing the shapes; it's about making it look appetizing and unique. So, here are a few thoughts to help you out.
Finding Inspiration and Practicing Regularly
Look at real ice cream! Seriously, pay attention to how light catches the swirls, the way sprinkles sit on top, or how sauce drips down the side. Take photos of ice cream cones you see, or even just look at pictures online. This kind of observation is, honestly, a huge help for making your drawings more convincing. And like any skill, drawing gets better with practice. Try to sketch a little bit every day, even if it's just for a few minutes. The more you draw, the more comfortable you'll become with your tools and your technique. You know, consistency is key for improving your art.
Overcoming Challenges and Enjoying the Process
Sometimes, a drawing might not turn out exactly how you imagined, and that's perfectly okay. Don't get discouraged! Every drawing, even the ones you're not thrilled with, teaches you something. Focus on enjoying the act of creating. It's a fun, relaxing activity that lets you express yourself. Remember, the goal is to have a good time and make something sweet. If you're feeling stuck, try a different type of ice cream, or a new angle. Just keep playing around with it, and you'll find your own unique style. Learn more about drawing techniques on our site, and perhaps explore more about color theory for your art. You can also find a lot of great resources on sites like Art Is Fun for general drawing tips, which can be quite helpful, you know.
Frequently Asked Questions About Ice Cream Drawing
How do you draw a simple ice cream cone?
To draw a simple ice cream cone, you just start with a triangle for the cone, then add a rounded shape on top for the scoop. You know, you can add some criss-cross lines on the cone to give it that waffle texture. Keep your lines light at first, so you can easily adjust them. It's pretty much about building from basic shapes.
What colors do you use for ice cream drawings?
The colors you use really depend on the flavor you're imagining. For vanilla, you might use creamy whites and light yellows. Chocolate would be various shades of brown. For strawberry, think pinks and reds. It's good to use a few different shades of your main color to add depth and make the ice cream look more real, you know, not just flat. And don't forget colors for toppings like bright reds for cherries or rainbow colors for sprinkles.
Can I draw ice cream digitally?
Absolutely, you can draw ice cream digitally! Many artists prefer using drawing tablets and software like Procreate or Photoshop. These tools offer a lot of flexibility with brushes, colors, and layers. You can easily experiment with different textures and effects, and it's quite simple to correct any mistakes. It's a great way to explore different styles and techniques for your ice cream art, honestly.


Detail Author:
- Name : Alyce Altenwerth
- Username : nya81
- Email : oraynor@koepp.com
- Birthdate : 1995-12-27
- Address : 792 Boehm Springs East Dorotheashire, MA 13360-5309
- Phone : +16023092151
- Company : Auer-Goldner
- Job : Range Manager
- Bio : Qui pariatur ea mollitia eos quam eum. Dolor voluptas alias beatae. Mollitia tempore tempora aperiam. Ea omnis commodi et voluptatem est quia.
Socials
facebook:
- url : https://facebook.com/maxie_o'kon
- username : maxie_o'kon
- bio : Reprehenderit reiciendis nisi optio. Magnam omnis in ipsam sint quibusdam.
- followers : 3620
- following : 1254
instagram:
- url : https://instagram.com/maxie.o'kon
- username : maxie.o'kon
- bio : Consectetur dolorem facilis facilis qui minima. Cum est architecto sunt quia voluptates alias.
- followers : 419
- following : 471


 Bonus
Bonus