

Have you ever looked at a beautifully crafted cake and wished you could capture its charm on paper? Cake drawing, you know, it's a delightful way to bring those sweet visions to life without even needing an oven. This creative pastime, in a way, lets you explore the many shapes and decorative touches of cakes, from the simple round ones to the more elaborate, multi-tiered creations. It’s a chance to play with colors and textures, all while celebrating the joy that cakes often bring to celebrations.
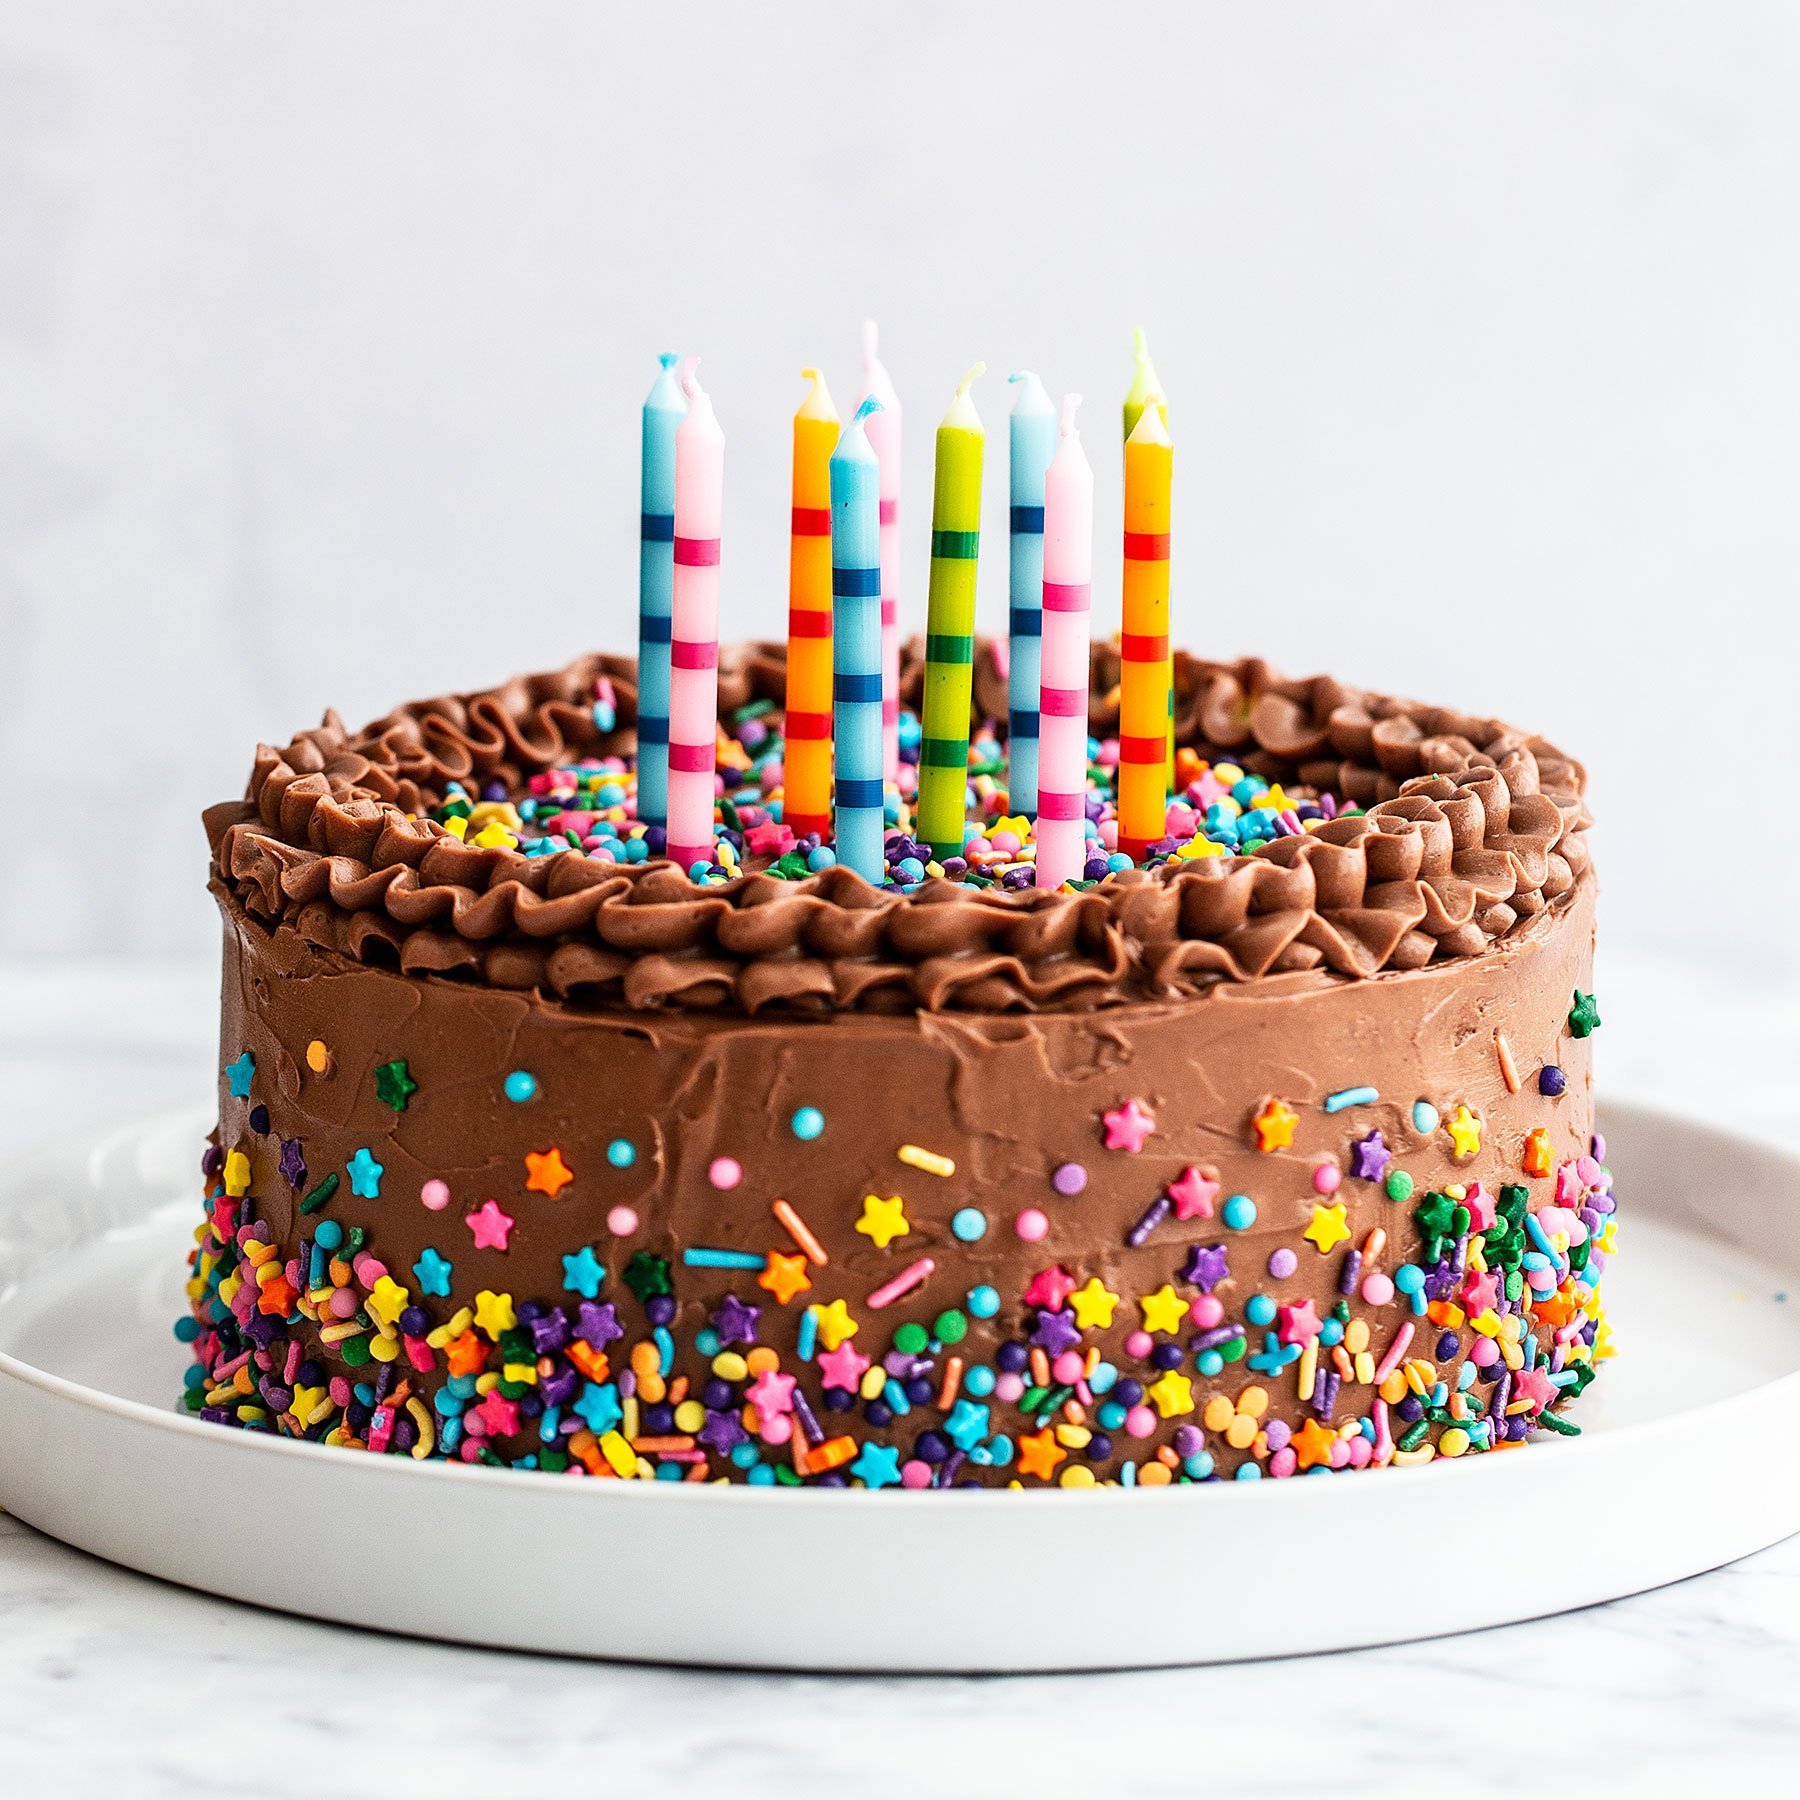
Drawing cakes, you might find, is a very relaxing activity that connects us to those happy moments. Think about a birthday cake, for instance, with its cheerful candles, or a fruit cake, perhaps, brimming with colorful pieces. These drawings can serve as a personal reminder of special occasions, or they could just be a fun way to practice your artistic skills. It's truly a sweet pursuit that anyone, regardless of their drawing experience, can pick up and enjoy.
Whether you're someone who loves to bake and wants to sketch out new ideas, or just someone who enjoys putting pencil to paper, cake drawing offers a lot. It’s a wonderful blend of art and a little bit of sugary imagination. You can, for example, draw a classic vanilla cake, maybe even one that combines the smooth feel of Japanese sponge cakes with the rich taste of Western butter-based cakes, just like some truly special ones.
Table of Contents
- Why Put Pencil to Pastry?
- Getting Started: Your Drawing Kit
- The Building Blocks: Basic Cake Shapes
- Drawing a Layer Cake: A Step-by-Step Guide
- Adding the Sweet Details: Frosting and Decorations
- Bringing Color to Your Cake Drawing
- Exploring Different Cake Drawing Styles
- Helpful Tips for Better Cake Drawings
- Digital vs. Traditional Cake Drawing
- Frequently Asked Questions About Cake Drawing
- Wrapping Up Your Artistic Adventure
Why Put Pencil to Pastry?
So, why spend time drawing cakes? Well, there are many good reasons, actually. For starters, it’s a really pleasant way to unwind. The act of creating something, even a simple sketch, can be quite calming. It's a chance to just focus on shapes and lines, letting your worries fade a little.
For those who love to bake, sketching a cake design first can be super helpful. You can try out different frosting patterns or imagine where the fruits and sprinkles might go. This helps, you know, in planning your actual baking project, making sure the real cake turns out just as you pictured it. It's like a blueprint for deliciousness.
Also, drawing cakes is a fantastic way to practice your general drawing skills. You get to work on perspective, shading, and adding textures, which are all important things for any artist. It's a fun subject, and you can really see your skills grow with each sweet sketch you make.
Getting Started: Your Drawing Kit
You don't need a lot of fancy stuff to start drawing cakes, you know. Just a few basic items will do the trick. A simple pencil, maybe a few different hardness levels like a regular HB and a softer 2B, is a good start. These are, in a way, your main tools for outlining and adding shading.
Paper is, of course, pretty important too. Any sketchpad or even just plain printer paper will work fine for practice. If you want your drawings to last, you might consider something a little thicker, perhaps. And, obviously, an eraser is a must-have for correcting any little mistakes along the way.
For adding color, you have options. Colored pencils are great for beginners because they're easy to control. Markers give bright, bold colors, while watercolors can offer a softer, more blended look. Pick what feels good to you, or just try them all out, you know, to see what you like best.
The Building Blocks: Basic Cake Shapes
Every cake drawing, pretty much, starts with simple shapes. Think of a layer cake, for instance, as a stack of cylinders. A sheet cake is, basically, a rectangle. Even a fancy birthday cake, at its core, is built from these very basic geometric forms.
To start, lightly sketch these main shapes. If you're drawing a round cake, begin with an oval for the top and then draw two curved lines down for the sides, connecting them at the bottom. For a square cake, it's just a matter of drawing a cube in perspective. This foundation is, in a way, crucial for getting the proportions right.
Don't press too hard with your pencil at this stage, you know. These are just guidelines that you'll refine later. Getting these initial shapes correct makes it much easier to add the details and frosting without your cake looking, well, a little bit lopsided.
Drawing a Layer Cake: A Step-by-Step Guide
Let's walk through drawing a simple layer cake, which is, basically, a favorite for many celebrations. First, you'll want to lightly sketch a horizontal oval. This will be the top of your cake, so, you know, make it the size you want your cake to be.
Next, from each end of that oval, draw two straight lines going downwards. Make sure they're roughly the same length. These lines will form the sides of your cake. You're, in a way, creating the height of your first layer.
Then, connect the bottom of those two lines with another curved line, mirroring the top oval. This completes your first cake layer. You've got the basic shape down, which is, honestly, a pretty good start.
Now, for the second layer, draw another oval directly above the first one, but make it slightly smaller. This creates the visual effect of a stacked cake. Repeat the process: draw two straight lines down from the ends of this new oval, stopping just above the first layer.
Connect the bottom of these lines with another curved line. You're building up the cake, layer by layer, you know, just like a real one. You can add a third or even a fourth layer by repeating these steps, making each successive layer a little bit smaller than the one below it.
Once your layers are stacked, it's time to add the frosting. Imagine the frosting as a soft, slightly uneven coating. Draw wavy lines along the top edges of each layer, letting them drip down the sides a little. This gives it that lovely, creamy look, you know, like the kind of frosting on a rich butter-based cake.
For the sides, draw subtle vertical lines that follow the curve of the cake, suggesting the texture of the frosting. Don't make them too straight; a little wobble makes it look more authentic, more like something made from scratch. This is, after all, a cake that's meant to look delicious.
Finally, lightly erase any of your initial guiding lines that are still showing through the frosting. You want the cake to look solid and appealing. This is where your cake, you know, really starts to take shape.
Adding the Sweet Details: Frosting and Decorations
After you have the main shape of your cake, it's time for the fun part: adding the little touches that make it special. Think about the frosting first. You can draw smooth, even frosting, or you can make it look like it's been swirled on with a knife, creating lovely textures. This really helps, you know, to give your cake a unique personality.
Consider what type of cake you're drawing. If it's a birthday cake, you might add candles, perhaps with little flames on top. For a fruit cake, you could sketch in some plump raisins or colorful pieces of candied fruit, just like the kind found in many delicious recipes. These small additions, you know, really bring the drawing to life.
Sprinkles are pretty easy to add too. Just draw tiny dots or very short lines scattered across the top and sides. For more elaborate decorations, like piped flowers or borders, you can sketch simple shapes first, then add the finer lines to show the details. Remember, homemade cakes are perfect for all sorts of occasions, and your drawing can show that joy.
You could even, in a way, think about adding a little cake topper or a message written in frosting. These elements truly make your cake drawing feel complete and ready for a celebration. It's all about making it look like a cake that's ready to be enjoyed.
Bringing Color to Your Cake Drawing
Adding color to your cake drawing is where it really, you know, starts to pop. Before you put down any color, think about the cake's flavor. Is it a rich chocolate cake, a bright vanilla cake, or perhaps a colorful fruit cake? The colors you pick will tell that story.
For the cake layers themselves, choose a light brown for chocolate, or a creamy yellow for vanilla. Remember that special vanilla cake that blends Japanese sponge and Western butter cakes? Its light, airy look could be shown with very soft, warm tones.
The frosting can be any color you like! White, pink, blue, or even a rainbow of colors. Use lighter shades where the light would hit and slightly darker shades for areas in shadow to give it some depth. This helps, you know, make it look more real.
For fruits and decorations, use vibrant colors. Red for cherries, green for leaves, and different shades for sprinkles. Don't be afraid to layer colors to create richer tones and more visual interest. A little bit of layering, you know, can make a big difference.
Consider the background too. A plain background will make the cake stand out, but a simple pattern or a light wash of color can add to the overall feeling. It's all about making your cake drawing look as appetizing as possible.
Exploring Different Cake Drawing Styles
Cake drawing isn't just one thing; there are many ways to approach it. You could, for example, go for a very realistic look, trying to capture every crumb and every smooth swirl of frosting. This style often involves careful shading and attention to light sources, making the cake look almost good enough to eat.
On the other hand, you might prefer a cartoon style. This is where you can really have fun with exaggerated features, big smiles on cake slices, or even little faces on the candles. Cartoon cakes are often bright and cheerful, with bold outlines and simple colors. They are, you know, very playful.
Then there's the illustrative style, which is somewhere in between. It might have some realistic elements but with a touch of artistic interpretation. This style is often seen in cookbooks or greeting cards, where the cake looks appealing but also has a unique artistic flair.
You can also think about the type of cake itself. Drawing a simple sheet cake is different from tackling a multi-layered wedding cake. A birthday fruit cake, perhaps with its distinct ingredients like raisins, will have a different feel than a sleek, modern layer cake. Each type offers its own drawing challenges and opportunities.
Experiment with different styles to see what you enjoy most. Maybe you'll find you love drawing simple, cute cakes, or perhaps you'll be drawn to creating highly detailed, lifelike pieces. There's no right or wrong way, just your way, you know.
Helpful Tips for Better Cake Drawings
To get better at cake drawing, a bit of practice is, honestly, the most important thing. The more you draw, the more comfortable you'll become with the shapes and details. Don't worry about making things perfect right away; just keep sketching.
Look at real cakes for inspiration. Notice how the light hits the frosting, how the layers stack, and the textures of different decorations. Taking pictures of cakes you see, or even cakes you bake, can give you great reference material, you know.
Don't be afraid to make mistakes. They are, in a way, part of the learning process. An eraser is your friend, and sometimes a "mistake" can lead to a new, interesting idea. Just keep going, even if a drawing isn't turning out exactly as you pictured it.
Try drawing cakes from different angles. A cake seen from above looks different than one seen from the side. This helps you understand perspective better and makes your drawings more dynamic. It's a really good way to improve, you know, your overall drawing skills.
And, you know, experiment with different drawing tools and papers. Sometimes a new pencil or a different type of paper can spark new ideas and make the drawing process even more enjoyable. Just keep having fun with it!
Digital vs. Traditional Cake Drawing
When it comes to cake drawing, you have a choice between traditional methods and digital ones. Traditional drawing means using pencils, paper, paints, and other physical art supplies. There's something really satisfying about the feel of a pencil on paper or the way paint blends on a canvas, you know.
Traditional drawing can be very forgiving, as you can often erase or paint over mistakes. It also doesn't require any special electronic equipment, just your basic art tools. Many people find the tactile experience of traditional art to be very calming and enjoyable.
Digital drawing, on the other hand, involves using a tablet, a stylus, and drawing software on a computer. This method offers a lot of flexibility. You can easily undo actions, change colors with a click, and use many different brushes and effects. It's, you know, pretty versatile.
Digital tools allow for easy sharing of your artwork online and can be great for creating illustrations for websites or, say, for an online cake shop that deals in all types of delicious cakes. While it might have a bit of a learning curve at first, many artists really love the freedom and convenience it offers.
Both traditional and digital methods have their own charms. You could even combine them, perhaps sketching traditionally and then scanning your drawing to color it digitally. It's all about finding what works best for you and your creative process, you know, and what makes you happy while drawing.
Frequently Asked Questions About Cake Drawing
How do you draw a simple cake?
Drawing a simple cake starts with basic shapes. Begin with an oval for the top, then draw two vertical lines down from its sides, connecting them with a curved line at the bottom. This forms a single cake layer. For a layered cake, you just stack more of these shapes, making each upper layer a bit smaller. Then, you add simple wavy lines for frosting and a few dots for sprinkles. It's, you know, quite straightforward.
What makes a cake look realistic?
To make a cake drawing look real, pay attention to shading and texture. Use lighter pencil strokes or colors where light would hit the cake, and darker ones for shadows, especially under frosting drips or between layers. Show the texture of the frosting with subtle lines or tiny dots. Adding details like reflections on a plate or crumbs can also make it seem, you know, very lifelike.
How do you draw a cartoon cake?
Drawing a cartoon cake involves exaggerating features and using bold lines. You can make the layers wobbly, the frosting extra thick, and add big, cheerful sprinkles. Give your cake a friendly face, or make the candles extra tall and whimsical. Bright, flat colors often work well for a cartoon look. It's all about having fun and letting your imagination go, you know, a little bit wild.
Wrapping Up Your Artistic Adventure
So, you've taken a look at the sweet world of cake drawing, from those initial simple shapes to adding colorful decorations. It's a creative outlet that truly offers a lot of joy and a chance to practice your artistic skills. Whether you're sketching a simple birthday cake or a fancy layer cake, the process is, you know, all about having a good time and letting your creativity flow.
Remember that, you know, every cake drawing you create is a step forward in your artistic journey. Keep practicing, keep observing real cakes for inspiration, and don't be afraid to experiment with different tools and styles. There's a whole world of delicious designs waiting for your pencil.
We hope this guide has given you some good ideas and encouraged you to pick up your drawing tools. Why not start sketching your next sweet masterpiece today? Learn more about drawing techniques on our site, and perhaps you can even find inspiration on where to get your drawing materials to get started.


Detail Author:
- Name : Dr. Flossie Daugherty
- Username : bashirian.erica
- Email : streich.torey@conn.com
- Birthdate : 1977-10-13
- Address : 288 Foster Throughway Apt. 902 New Catherine, RI 30797-9793
- Phone : 931-897-7299
- Company : Kutch-Walsh
- Job : Gluing Machine Operator
- Bio : Qui eligendi inventore dolor molestiae velit qui. Corrupti molestias ullam sapiente optio odio enim. Sit minus occaecati dicta ducimus. Omnis expedita et natus tempore aliquid.
Socials
twitter:
- url : https://twitter.com/kemmert
- username : kemmert
- bio : Nemo voluptas omnis rerum reprehenderit aut. Corporis qui illum at molestias est est. Modi aut veniam voluptas est quae quos.
- followers : 2722
- following : 2666
tiktok:
- url : https://tiktok.com/@kemmert
- username : kemmert
- bio : Alias minus hic nihil et aut vero.
- followers : 3836
- following : 785
instagram:
- url : https://instagram.com/toneykemmer
- username : toneykemmer
- bio : Rerum vitae fugiat itaque reprehenderit et. Incidunt et corporis consequatur architecto.
- followers : 1727
- following : 753


 Bonus
Bonus