

Do you ever feel a little spark of creativity when you watch a baseball game? Maybe you see the crisp lines of the field, the curve of the ball, or the swift movement of a player, and think, "I'd love to capture that!" Well, that feeling is a wonderful starting point for something truly fun: baseball drawing. It's an awesome way, you know, to get into the spirit of the sport, whether you are a big fan or just enjoy putting pencil to paper.
Whether you're a beginner who has never really drawn much before, or someone who just wants a quick and fun activity for an afternoon, this guide is definitely for you. We're going to walk through how to create a great looking baseball, with easy drawing instructions and plenty of helpful tips. You'll find that by following some simple steps, you too can easily draw a perfect baseball, maybe even a realistic and captivating one, which is really cool.
This whole guide will help you start your artistic journey into baseball drawing. We'll cover everything from getting the basic shape just right to adding those tiny, important details like stitching and shading. You'll even find some inspiration for baseball lovers who also like to draw, with some fun and creative ideas beyond just the ball itself. So, are you ready to pick up a pencil and start creating something amazing?
Table of Contents
- Getting Started with Baseball Drawing
- The Art of Baseball Stitching
- Adding Depth: Shading and Highlights
- Beyond the Ball: More Baseball Drawing Ideas
- Tips for a Great Baseball Drawing
- Frequently Asked Questions About Baseball Drawing
Getting Started with Baseball Drawing
Beginning your baseball drawing adventure is, you know, really quite simple. It's about setting yourself up for success with just a few basic items and then tackling the initial forms. Whether you're aiming for a realistic and detailed baseball or just a quick sketch, getting these first steps right makes a big difference. This section will help you understand the basics, which is pretty essential, especially for beginners or those looking to improve their skills.
What You'll Need
You don't need a whole lot of fancy art supplies to start with baseball drawing, which is great. A simple pencil, maybe a few different hardness levels like a B for softer lines and an H for lighter ones, works perfectly. You'll want some paper, of course, and a good eraser is pretty important for cleaning up any stray marks or making adjustments. Sometimes, a ruler or a compass can be helpful for getting that initial circle just right, but you can certainly freehand it too. So, gather your tools, and let's get ready to make some art.
Basic Shapes First
Every drawing, even a baseball, starts with a basic shape, you know? For a baseball, that means a circle. Drawing a perfect circle can be a bit tricky for some people, but there are ways to make it easier. You could lightly sketch a square first and then draw a circle inside it, touching all four sides. Or, you could just practice drawing circles freehand until you get a feel for it. The idea is to get a nice, round form that will be the foundation of your ball. This is, like, the very first step in following the simple steps to sketch the shape.
Once you have your circle, you've got the main body of the baseball. This initial shape doesn't have to be absolutely perfect, because you'll refine it as you go along. It's just a guide, really. Think of it as laying down the groundwork for your drawing. This simple step is, in a way, the most important one for building a good baseball drawing.
The Art of Baseball Stitching
The stitching on a baseball is what truly makes it recognizable, wouldn't you say? It's those distinct red lines that give the ball its character and, you know, that classic look. Getting the stitching right is a key part of learning how to draw a realistic and captivating baseball. It's where the drawing really starts to come alive and look like the real thing. This part of the process is, arguably, what makes a baseball drawing instantly identifiable.
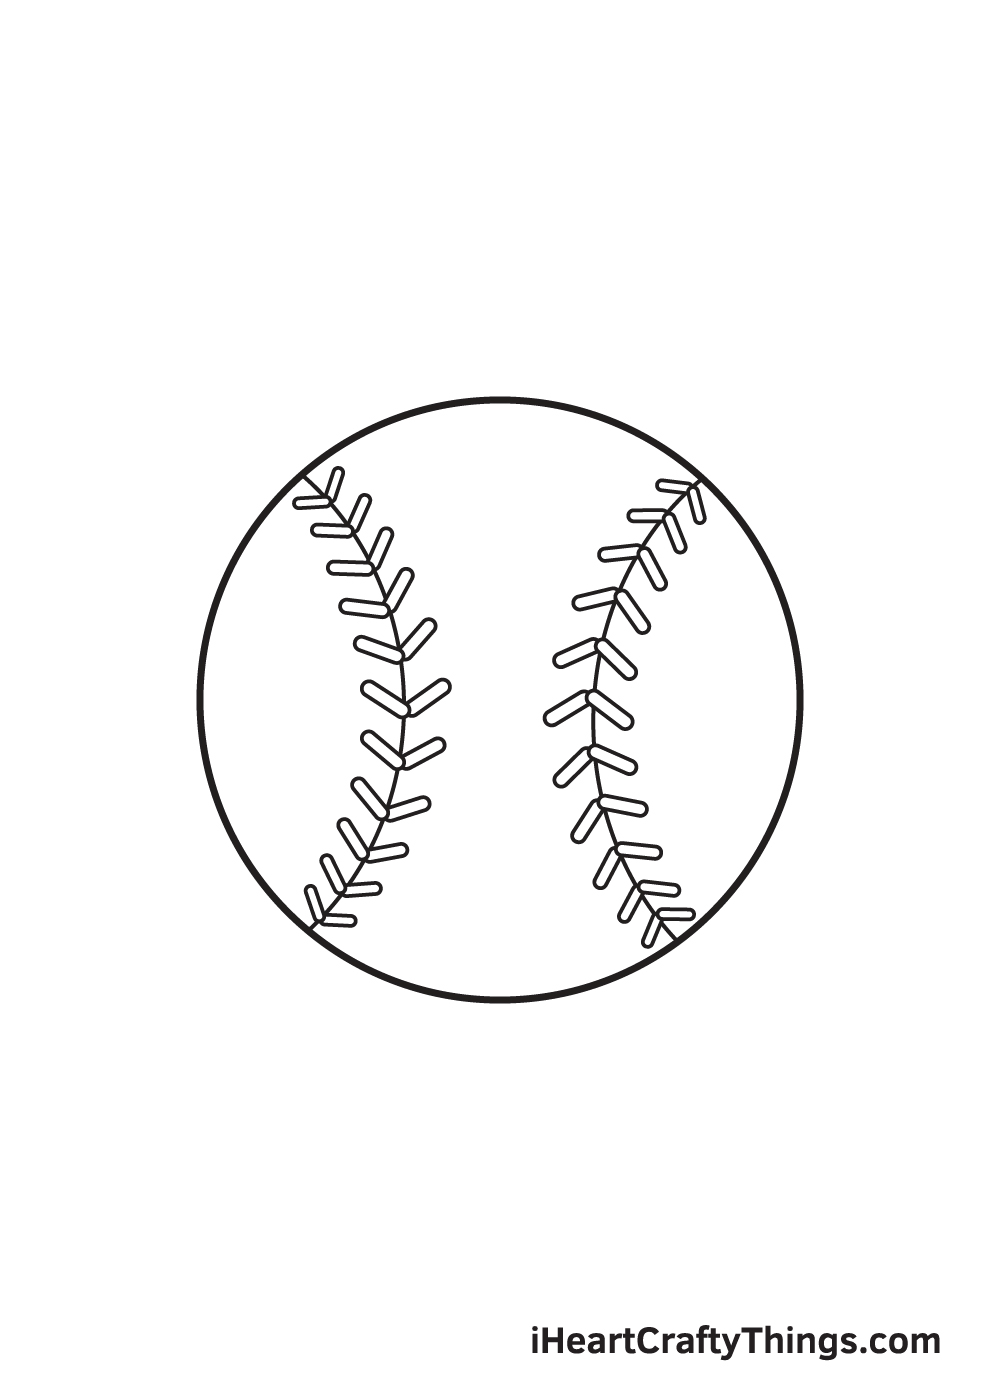
Making Those Iconic Lines
After you have your basic circle, the next thing to add are the stitching lines. These aren't just random marks; they follow a very specific pattern on a real baseball. Imagine two long, curved lines that almost look like the letter 'S' laid on its side, or perhaps like a pair of parentheses, meeting at two points on opposite sides of the ball. These lines should curve gracefully, following the roundness of the ball, which is quite important for realism. You want them to look like they wrap around the sphere, not just sit flat on it, so that's a little trick to remember.
It's helpful to lightly sketch these main curves first. You can, for instance, start one curve from the top left, sweeping down to the bottom right, and the other from the top right, sweeping down to the bottom left. They should cross over each other in a way that creates two distinct sections on the ball. This step, you know, really defines the ball's appearance.
The Stitch Pattern
Now for the actual stitches! These are small, short lines that run along the main curved lines you just drew. They typically angle inwards, pointing towards the center of the ball. Think of them as tiny V-shapes or little crescent moons that repeat all along the main seams. The key is to make them somewhat uniform in size and spacing, but not so perfect that they look unnatural. A real baseball has slight variations in its stitching, so a little bit of imperfection can actually add to the realism, which is pretty neat.
You can start by drawing a few stitches at one end of a curve, then move to the other end, and then fill in the middle. This helps keep the spacing consistent. Remember, each photo of a baseball offers a unique approach, guiding you through details such as stitching and texture, so looking at references can be very helpful. This part, you know, really adds the finishing touches and makes your baseball drawing complete with seams and curves.
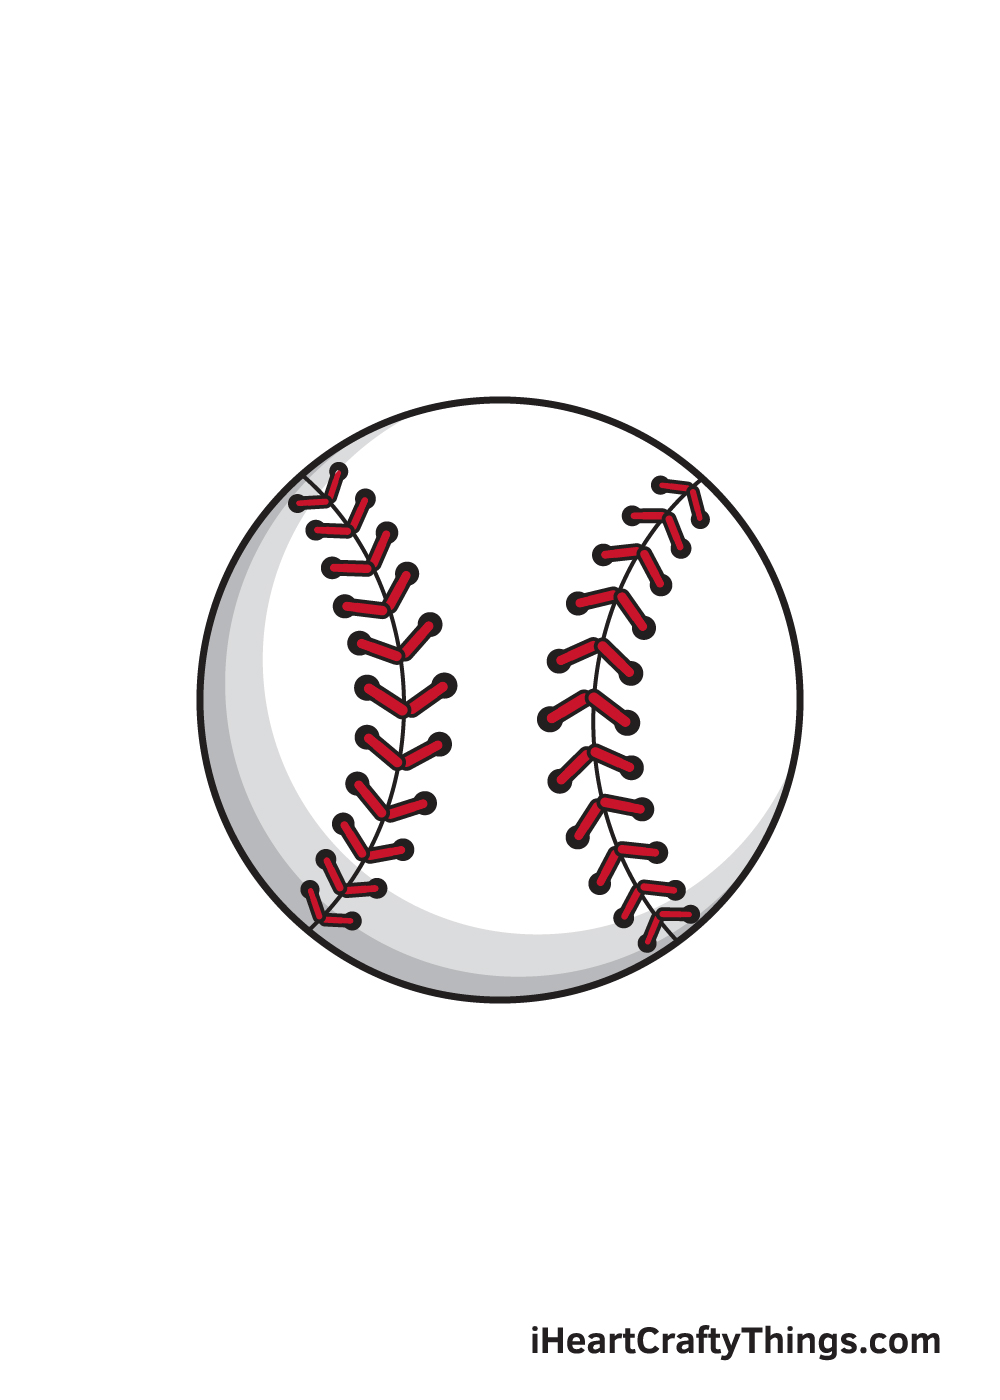
Adding Depth: Shading and Highlights
Making your baseball drawing look three-dimensional is all about adding depth through shading and highlights. Without these, your ball might look a bit flat, like a simple circle on the page. But with a bit of careful light and shadow, you can make it appear round and solid, almost as if you could pick it up. This step is, arguably, what makes a drawing go from good to great, giving it that realistic touch.
Where the Light Hits
To start with shading, you first need to decide where your light source is coming from. Is it from the top left? The bottom right? Once you know that, you can figure out which parts of the baseball will be brightest (highlights) and which parts will be darkest (shadows). The area directly facing the light will be the brightest, and the area furthest away, on the opposite side, will be the darkest. There will also be a cast shadow on the surface the ball is resting on, which is, you know, a pretty important detail for grounding your drawing.
Think about how light wraps around a round object. It doesn't just stop sharply; it fades gradually. So, your shading should transition smoothly from light to dark, creating a gentle curve of tone across the ball's surface. This gradual change is what gives the baseball its round appearance, which is, you know, pretty cool to see happen on paper.
Building Layers of Tone
When you're adding shade, it's often best to build up the darker areas in layers, rather than pressing down hard right away. Start with a very light layer of pencil, then add more layers, pressing a little harder each time, to create deeper shadows. This technique gives you more control and allows for smoother transitions. You can use different pencil types here too; a softer lead (like a 2B or 4B) will give you darker tones more easily than a harder one.
For highlights, you can either leave those areas of the paper untouched, or if you've shaded over them, you can use your eraser to lift some of the graphite away. A kneaded eraser is particularly good for this, as it can be shaped to pick up just small amounts of pencil. Adding these bright spots makes the ball look shiny and, you know, really pop off the page. This step is about following the steps to shade for depth and color, making your baseball drawing truly come alive.
Beyond the Ball: More Baseball Drawing Ideas
Once you've got the hang of drawing a baseball, you might find yourself wanting to draw more! The world of baseball offers so many fun and creative ideas for artists. You can expand your scenes and tell more of a story with your drawings. It's, you know, a great way to explore different elements of the sport and challenge your drawing skills a little bit further. There are, like, so many possibilities once you master the ball itself.
Drawing a Baseball Bat
A baseball bat is a classic companion to the ball. When you're drawing a bat, think about its long, cylindrical shape. It starts thinner at the handle and gradually widens towards the barrel. You can add details like the tape on the handle or the wood grain if you're going for a realistic look. Consider how it would lie next to the ball or be held by a player. This is, in a way, a good next step after drawing the ball itself.
You can make the bat look dynamic by drawing it in motion, perhaps mid-swing, or simply resting on the ground. Remember to think about perspective, so the bat looks like it's coming towards or away from the viewer. This adds a lot of visual interest, you know. Learn how to draw a baseball bat with easy steps, and you'll find it's a great addition to your baseball-themed artwork.
A Player or a Glove
Drawing a baseball player or a glove can add a whole new dimension to your baseball drawing. A player could be in action—pitching, catching, or batting—or simply standing on the field. This involves understanding basic human anatomy and how clothes drape, but you can start with simple stick figures to get the pose right. A baseball glove, with its unique shape and stitching, is also a fun challenge. It has a lot of texture and, you know, a very specific form.
For a glove, pay attention to the folds and creases in the leather, and the webbing between the fingers. These details really make it look authentic. You can even draw a ball nestled inside the glove, which creates a nice composition. It's a bit more involved, but definitely rewarding. You can find out how to draw a player or a glove, and it's a great way to expand your drawing repertoire.
The Diamond and Cap
To complete your baseball scene, you might want to include a baseball diamond or a baseball cap. The diamond is, basically, a square turned on its side, with bases at each corner. You can add the pitcher's mound and the home plate for more detail. Drawing the lines of the field helps give context to your ball or player. It's, like, the stage for the whole game.
A baseball cap is another iconic item. Think about its curved brim and the rounded crown. You can add team logos or just keep it plain. These elements, like the diamond and cap, are simple yet effective ways to enhance your baseball drawing. Learn how to draw a baseball diamond, a baseball cap, and more with these simple steps and tips, and you'll have a whole collection of baseball-related drawings.
Tips for a Great Baseball Drawing
Creating a truly great baseball drawing, whether it's realistic or just a fun sketch, comes down to a few key practices. It's not just about following steps, but also about avoiding common pitfalls and, you know, building up your skills over time. These tips are here to help you refine your work and enjoy the process even more. They are, in a way, pretty important for anyone looking to improve.
Common Pitfalls to Skip
When drawing a baseball, some common mistakes can make it look less convincing. One is making the ball too flat; remember, it's a sphere, so use shading to give it roundness. Another is making the stitching too uniform or perfectly straight; real baseball stitches have a slight organic wobble to them. Also, don't forget the cast shadow underneath the ball; without it, the ball will look like it's floating. These are, you know, small things that make a big difference.
Sometimes, people also forget to consider the light source, which leads to inconsistent shading. Always decide where your light is coming from before you start shading. What are the most common mistakes one should avoid when drawing a baseball? These are some of the big ones, and by being aware of them, you can improve your drawings quite a bit.
Practice Makes Perfect
Like any skill, drawing gets better with practice. The more you draw baseballs, the more comfortable you'll become with the shapes, the stitching, and the shading. Don't be afraid to make mistakes; they're part of the learning process. Each drawing is a chance to try something new or refine an old technique. Just keep at it, and you'll see your skills grow, which is, you know, very rewarding.
You might want to try drawing baseballs from different angles or under different lighting conditions. This helps you understand how light and shadow behave on a curved surface. So, grab your pencil and paper and just keep practicing. This guide will help you start your journey into baseball drawing, but consistent practice is what really makes you good.
Finding Inspiration
Looking for inspiration to start your next baseball drawing project? There are so many places to find it! You can look at actual baseballs, photos of games, or even other artists' drawings. Check out these 12+ baseball drawing ideas that offer a range of styles and difficulty levels, perfect for artists of all kinds. Sometimes, just seeing how someone else approached a baseball drawing can spark a new idea for you, which is pretty neat.
Don't be afraid to experiment with different mediums too, like colored pencils, markers, or even digital drawing tools. You can also find and download free graphic resources for baseball drawing, such as vectors, stock photos, and PSD files, which can be great for reference or even to trace and learn from. The goal is to keep your creativity flowing and find what excites you about baseball drawing. You can learn more about drawing tips and tricks on our site, which might give you even more ideas.
Frequently Asked Questions About Baseball Drawing
How do you draw the shape of a baseball?
Drawing the shape of a baseball begins with a simple circle. You can use a compass for a perfect circle, or you can sketch a light square and then draw a circle inside it, touching all four sides. Another way is to just practice drawing circles freehand until you get a good, round shape. Once you have the circle, you then add two curved lines that resemble an "S" shape or parentheses, crossing over each other on the ball's surface. These lines form the paths for the stitching, which is, you know, pretty important for the overall look.
How do you add shading and highlights to a baseball?
Adding shading and highlights gives your baseball drawing a three-dimensional look. First, decide where your light source is coming from. The area of the ball facing the light will be the brightest (highlight), and the opposite side will be the darkest (shadow). Use your pencil to build up layers of tone, starting light and gradually pressing harder for darker areas. The shading should transition smoothly from light to dark to show the ball's roundness. For highlights, you can leave areas white or use an eraser to lift graphite. Don't forget to add a cast shadow underneath the ball to make it look grounded, which is, you know, a pretty key detail.
What are the most common mistakes one should avoid when drawing a baseball?
One common mistake is drawing a flat-looking ball; remember to use shading to create a sense of roundness. Another is making the stitching too straight or perfectly uniform; real baseball stitches have slight imperfections and curves. Forgetting to establish a clear light source can lead to inconsistent or confusing shadows, so always decide where your light is coming from. Also, not adding a cast shadow underneath the ball can make it appear to float. Avoiding these common pitfalls will, you know, significantly improve the realism and overall quality of your baseball drawing. You might also find some helpful insights on other drawing techniques that apply here.

Detail Author:
- Name : Shawn Kerluke
- Username : desiree99
- Email : nienow.clemens@treutel.com
- Birthdate : 1975-01-25
- Address : 85122 Bosco Curve Suite 357 Rodolfochester, KY 75092-6673
- Phone : 281-752-1047
- Company : Sauer, Morar and Rohan
- Job : Clinical School Psychologist
- Bio : Nulla rerum minus explicabo veniam sunt rerum nulla sit. Reiciendis iusto soluta tenetur et vero voluptate. Distinctio autem corrupti qui ipsam eveniet quae.
Socials
linkedin:
- url : https://linkedin.com/in/koeppj
- username : koeppj
- bio : Dolorum officia cumque et commodi et ut.
- followers : 4208
- following : 403
facebook:
- url : https://facebook.com/jose.koepp
- username : jose.koepp
- bio : Quia sed adipisci deserunt quae.
- followers : 2883
- following : 2618


 Bonus
Bonus